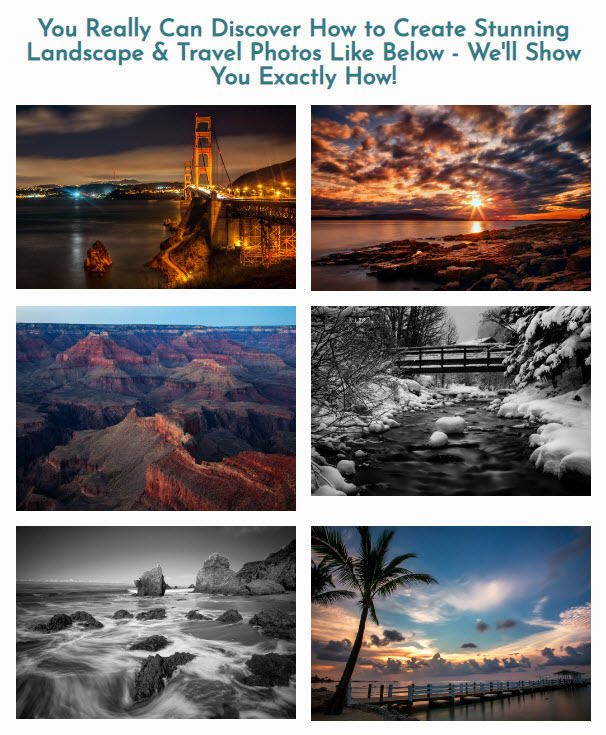
Have you ever stood on a majestic spot and been overwhelmed by its beauty? You pull out your camera, frame your shot, and fire the trigger on this epic landscape. Except when you pull up the photo later on your computer, it’s utterly underwhelming. You wanted jaw-dropping photos, not disappointment and frustration.
Looking to improve your photography? Just enter any questions you have about improving your photography below and hit send and get answers & feedback instantly - for FREE! Submit QuestionsIf your shots aren’t matching the size and splendor of your view, try our tips for landscape photography to supercharge your photos!
Our Best Landscape Photography Tips
Plan Ahead
Every once in a while, you get lucky. You stumble on a beautiful scene with all the right hues and tones and strike photography gold. But landscape photography pros know the best photos are a result of lots of planning.
Scout locations ahead of time. Arrive early. Have the right camera and other gear on hand. Be there during the best light. Know what settings you need to capture the photo as you imagine it. Apps like Photo Pills or OnX Maps can help find locations or plan your shots.
It can take some time for the weather, sun, light, or other elements of your frame to come together. Be patient and allow yourself time to just wait for the right light.
Likewise, you need to be persistent. Some mornings the clouds never lift or the rain pours down and ruins your plans. Stick with it until you get the shot you want!
There aren’t any shortcuts to good planning. Put in the time and effort to plan your adventure and the effort will pay off in your photos later!
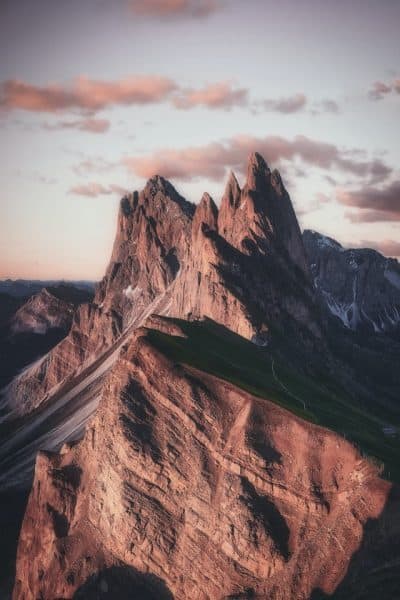
Go for Golden Hour or Blue Hour
Great light makes great landscape photos. The best light often occurs during the golden hour – an hour after sunrise or an hour before sunset. The sun is low on the horizon and softer or more diffused.
This means softer shadow in your photos and a chance for some really beautiful hues in your skies. Golden hour is one of the best times of the day to capture your photos!
Blue hour is golden hour’s lesser-known sibling. Blue hour is about 30 minutes before sunrise or the 30 minutes after sunrise. The sun is below the horizon but still casting light into the sky. There’s this beautiful blue hue. This is the best time to try it with your favorite landscape or cityscape for a serene, peaceful vibe.
Maximize the Foreground, Background, and Subject
Beginning landscape photographers see a beautiful scene, pull out there cameras and start shooting without considering composition. Instead, evaluate the foreground, subject and background together.
How can you use elements in the background or foreground to emphasize the subject? Can you use framing, leading lines, or symmetry to add visual interest? Examine the whole frame and use all the elements to tell a story.
Also, don’t forget to choose a specific model for your composition, which will be your focal point and draw the viewer into and through the image.
Look for structures such as building or fences, use natural elements such as an unusual rock or tree, or even incorporate people into your shot! Incorporating humans into shots provides an immediate sense of scale of the landscape and tells a story.
Use Your Feet for a Different View
Don’t settle for the view from the parking lot! Get moving and find a different view. Sometimes a new perspective is just a short walk away. Other times, it will take some serious miles to get the view you want. If you do the work no one else will do, you’ll get a shot no one else will!
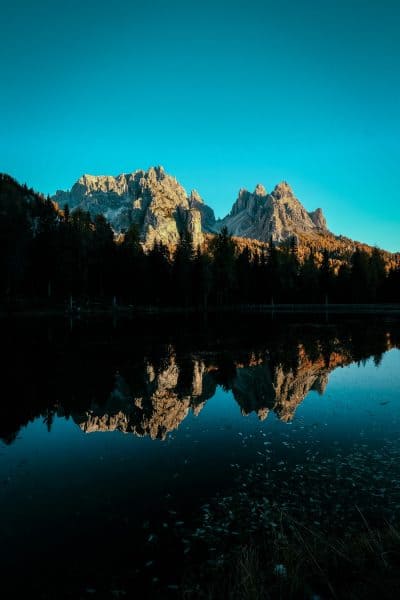
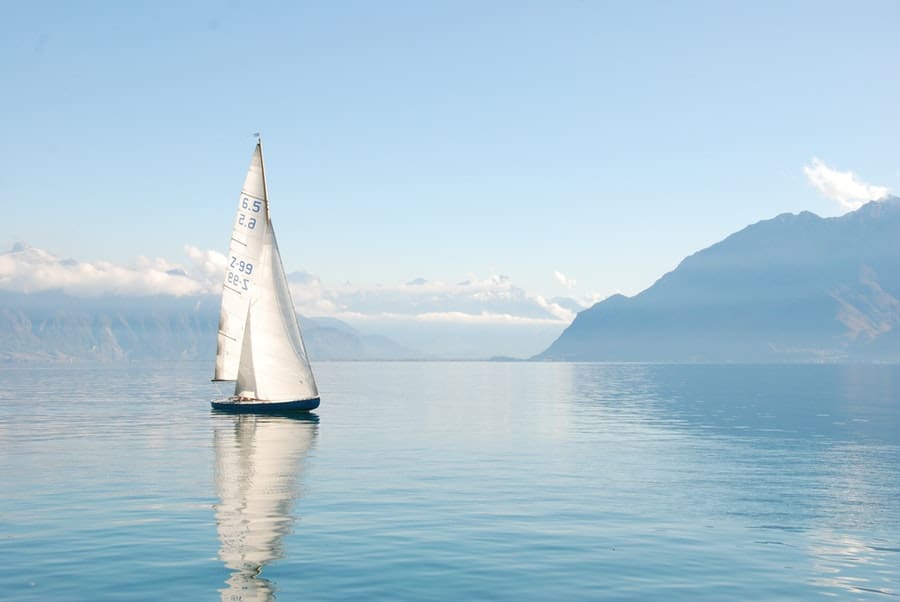
Experiment with Reflections
Reflections can add visual dynamic to your scene. Aim for a calm day when the water runs smoothly. Also, find water in subdued light to create dramatic effects and reflections.
Look for angles that can reflect as much of the landscape as possible. Use water such as lakes, ponds, or small puddles. Use the entire landscape plus the reflection, or just take a photograph of the reflection.
Filters are Your Friend
Landscape photography pros make use of lens polarizing filters to help their shot. Polarizing filters reduce glare, minimize reflections, and enhance some colors. Neutral density filters allow less light into your lens, allowing for longer shutter speed. Graduated neutral density filters help retain color in your sky while keeping your foreground properly exposed.
Practice Bracketing for Better Dynamic Range
Bracketing is a technique that takes different landscape photos at various levels of exposure (3 or more) and combines them together in post-production. The process creates a final file with a more dynamic range, meaning more tones from light to dark.
Apply the Rule of Thirds
Learn to divide your frame into thirds both horizontally and vertically. Place your model at the intersection of two of those lines…that’s the rule of thirds!
While many landscape photos look better with the focal point in the center square, placing the model off-center can create a more aesthetically composed photo.
You can also place your horizon line at the top third or bottom third of your image. The rule of thirds adds visual interest to your photo and helps draw the viewer’s eye toward your subject.
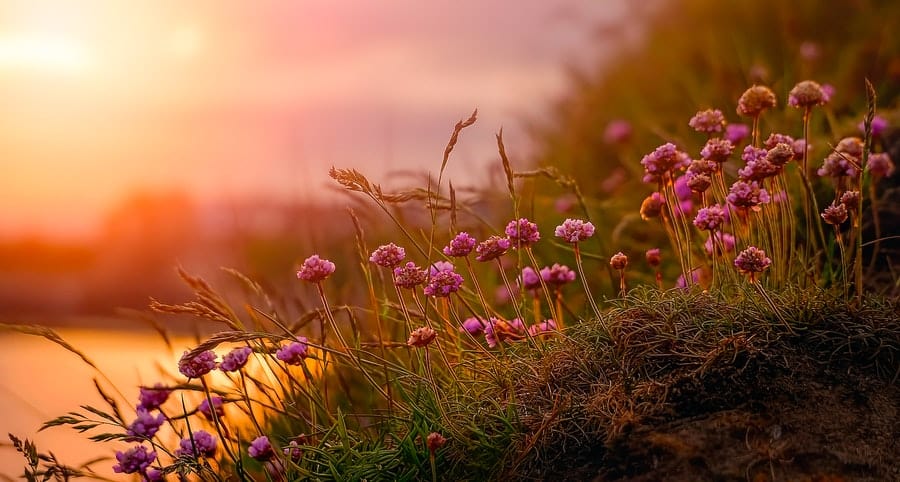
Keep Color in Your Sky
A sky with no color is uninteresting and detracts from the other elements in your photo. It also prints completely white. Blech. Capture your scenic landscape photographs at the golden hour or blue hour, the best time to keep from blowing out your skies, or use a graduated ND filter.
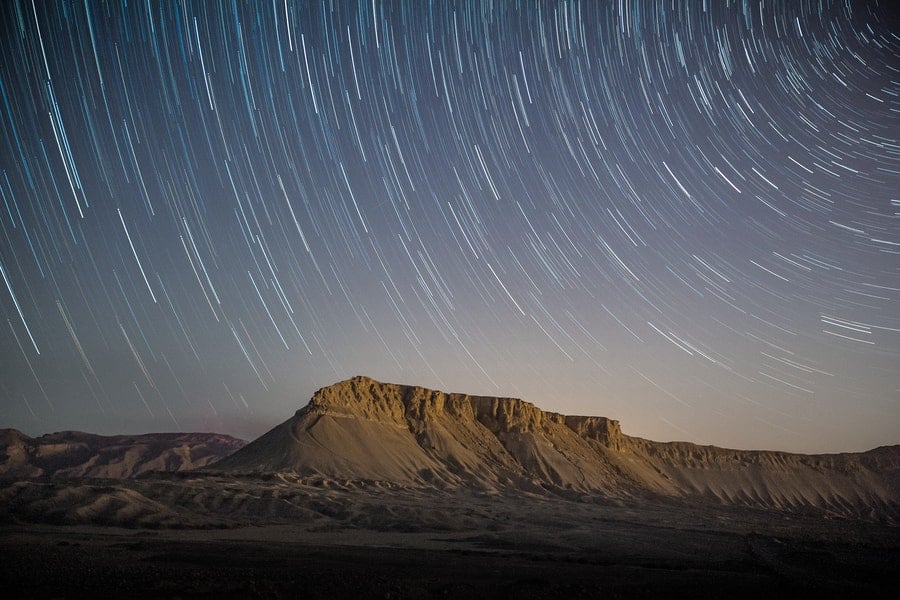
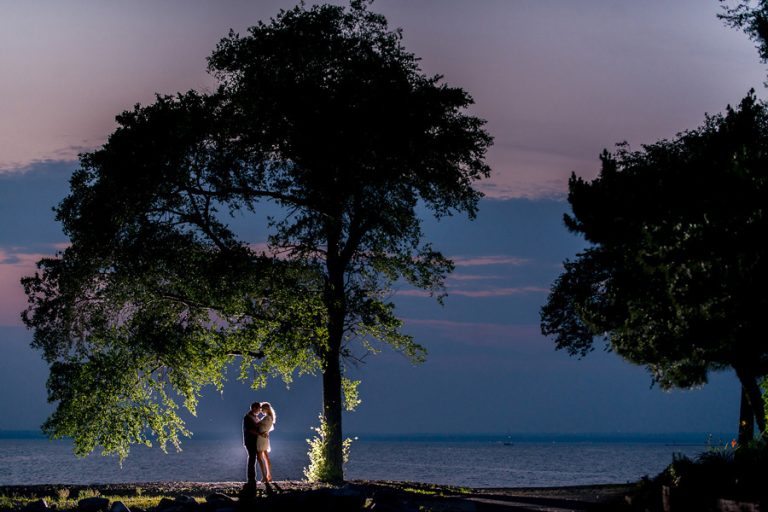
Capture Scenes at Night
With the help of a flashlight, tripod, and some long exposures, landscapes transform after dark. Use ambient light and show the starry skies. Or create a light trail or illuminated model with a flashlight or headlamp.
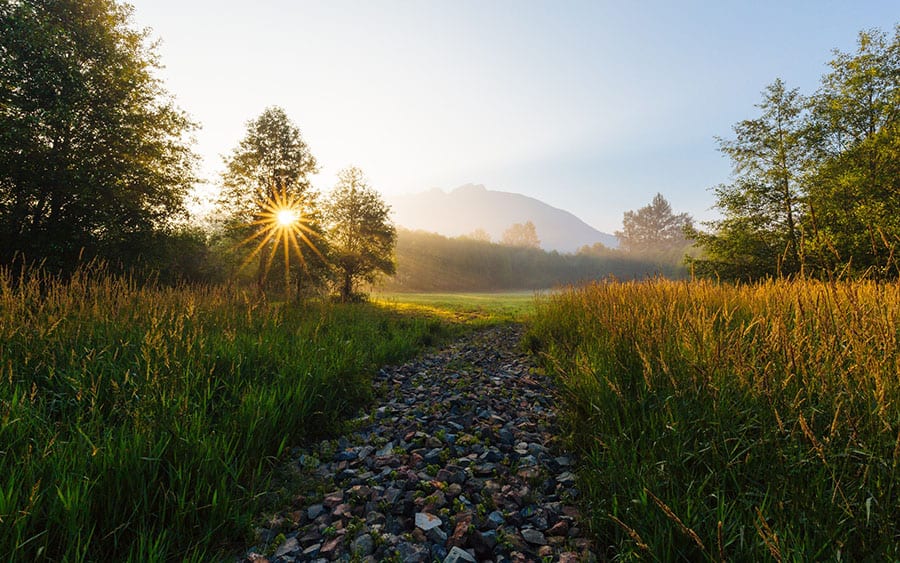
Make the Most of the Sun
Add a little sparkle with a sunstar. Use a narrow aperture like f/16 or f/22. Then frame your shot so the sun is partially blocked, as by a tree, building, or mountain peak. These two components create sunstars!
Bonus Tip: Sometimes the most interesting scenery isn’t the sunset or sunrise. Try looking opposite from the sunrise or sunset before composing your shot. The sky is usually full of beautiful colors and just might make for a better photograph!
Landscapes Don’t Have to Be Horizontal
If your scene is taller than it is wide, shoot in portrait orientation. Landscapes don’t always have to be horizontal. You can also use the panorama function on your camera or post-production software to create a unique image. A tripod helps keep your camera steady and your shots level.
Lengthen the Exposure
Creating a long exposure is an excellent way to capture deep, luscious shots. In this way, you can make the motion look alive in your landscape photos. This is perfect for waves on a beach, water in a stream, or cars on the road.
Slow down the shutter speed of the camera, usually about five to 30 seconds long. Make sure to keep the ISO as low as possible for longer exposure times and sharper results. You can also use a tripod to avoid blur.
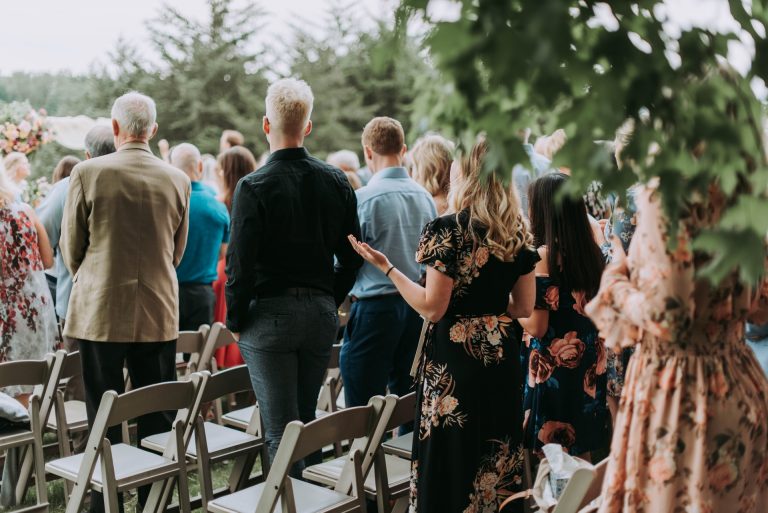
Include People or Wildlife
Great landscape photography doesn’t mean you only need to showcase nature. When it comes to photography, putting a human element or animals can add depth to the frame. By doing so, you can show the scale and dynamics of the landscape.
For instance, you can take an image of a child running along a flower field. Or, you can let hikers tell a story of how high the mountain is. You can show how fish swim freely along the river.
Change The Viewpoint
When spending time outdoors, you can’t really ask the mountains to move or the stream to change its course. Since the subjects won’t change positions, it’s up to you to learn how to move around.
Try as many new vantage viewpoints as possible. Learn how to shoot in the same spot using various perspectives. You can either go way up high or dig a little deeper.
Try Aerial Shots
Doing aerial shots gives you the chance to capture a different perspective. You can make the landscapes and waters assume an entirely unique shape.
For example, the rice fields look different when shot from eye level than when you go up the mountain. You can also achieve a unique angle when you’re on a plane or a helicopter.
No matter how high it is, wait for the white cloudy sky to disperse, or the moment when the sun breaks through the frame. This is also the reason why it’s vital to plan so that you can check the weather forecast and choose the best time to shoot.
Form Leading Lines
These are among the most visually appealing elements in photography. It’s a simple composition technique that allows you to make use of nature’s lines to point the viewer’s eyes to the image. Elements such as rocks, boardwalks, and shorelines can act as leading lines and bring depth to a landscape image.
Embrace Minimalism
When doing landscape photography, it’s usual to focus on wide-angle shots. However, there are times when shooting the whole scene creates an overwhelming output.
One of the best tips for landscape photography to remember is to take a break from your typical angles and experiment by highlighting the small details. Look around the place and observe how you can zoom in on a special element or quality in the scene.
Applying minimalism lets you focus on details and keeping a simple composition. This is particularly helpful if you feel like what’s in front of you looks confusing or cluttered.
Landscape Photography Tips on Camera Settings
There’s not a single group of settings that will work with every image. It depends on your light and priorities for your picture. But in general, use a mid-range to narrow aperture, like f/8, f/11 or narrower. That will give you more depth of field. More depth of field means more of your image will be in focus from front-to-back.
After you identify and set your aperture, depth of field, set your shutter speed and ISO. Keep your ISO as low as you can. If you’re shooting a image with people in it, use a shutter speed fast enough to freeze their motion, like 1/200 to 1/500 (faster for bikes or cars).
If you want to smooth clouds or water, on the other hand, use longer shutter speeds. Start around 2 seconds and adjust your shutter speed from there.
Once you’ve adjusted your shutter speed, make sure you are shooting in RAW format. RAW format gives you more information and detail than a JPEG. If you need to edit in post-processing, you’ll have more flexibility with RAW files.
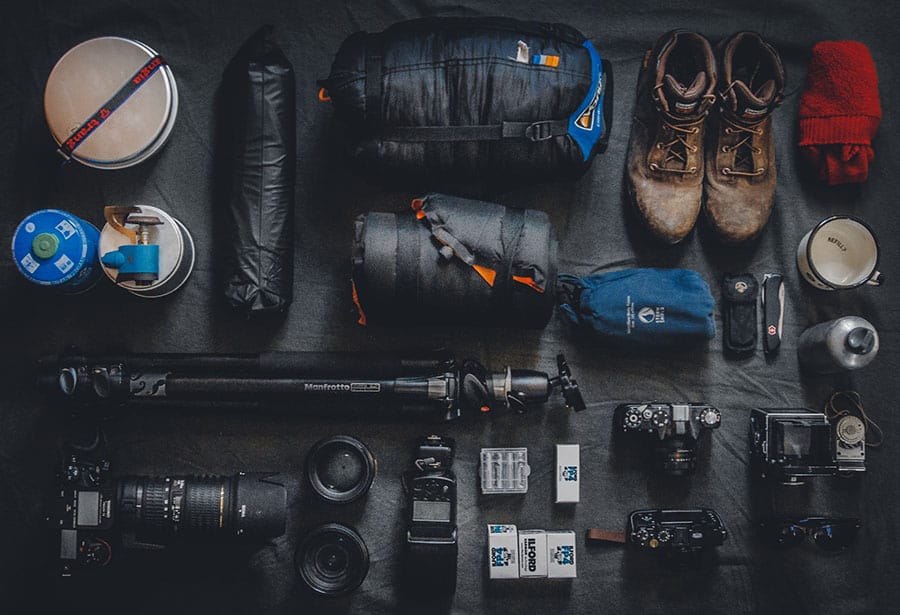
Landscape Photography Tips on Equipment
Here’s a great intermediate photography landscape kit. Consider adding some of these items to your camera bag for your session.
DSLR or mirrorless camera with good resolution: While the best camera may depend on your skills and experience, using a camera with a full-frame sensor is an excellent choice for starters. Most DSLRs come with manual settings that you can adjust depending on the scenario. Besides, they typically include larger sensors that allow you to get more light.
A wide-angle lens: a 35mm wide angle lens or wider. I like my 24mm wide angle lens! Wide angle lenses are a must for scenic photography. But don’t be afraid to reach for a longer than a wide angle lens now and again.
A telephoto lens: Longer than 70 mm. I like my 70-200 mm lens. A telephoto lens will let you capture a photo in an entirely new way!
Polarizing filter: A polarizer is a magical piece of glass that enables you to manipulate the light in the sky, creating more defined and dramatic hues. It can also limit, control, or remove reflections in the water.
Graduated ND filter: A graduated neutral density filter comes in handy if you want to darken an overexposed background while keeping the foreground lighter.
Tripod: A tripod is the best friend of every landscape photographer, especially when shooting at low shutter speeds. While low light environments require high ISO numbers, you can avoid camera shake by using a tripod. It would be best to bring a sturdy yet lightweight tripod as you would most likely hop from one location to another and a tripod you can easily carry with you.
Shutter release remote or cable: A camera may shake once you press its shutter button, which can cause your photo to blur. You can avoid this by using a shutter release remote or cable so that you won’t have to touch the camera as you shoot.
Lens Pen or Cleaning Cloth: Small, lightweight photography cleaning tools for camera lenses and other optical items. Using one gives you a safe and effective way of removing dust, fingerprints, and other elements.
Backpack Style Camera Bag to Protect Your Equipment: You may have to cross rivers or hike a mountain when photographing landscapes. Thus, it’s essential that you protect all of your gears. A camera bag must be convenient to carry and provide you easy access to your equipment.
Conclusion
You don’t need to be standing in Yellowstone National Park to practice your landscape technique. Landscapes photography is a great way to combine your love of nature with your love of photography.
Use these tips for landscape photography to hone your skills locally. Practice making the landscape you see everyday look more interesting or beautiful. Then, when adventure calls, you’re ready for the challenge!