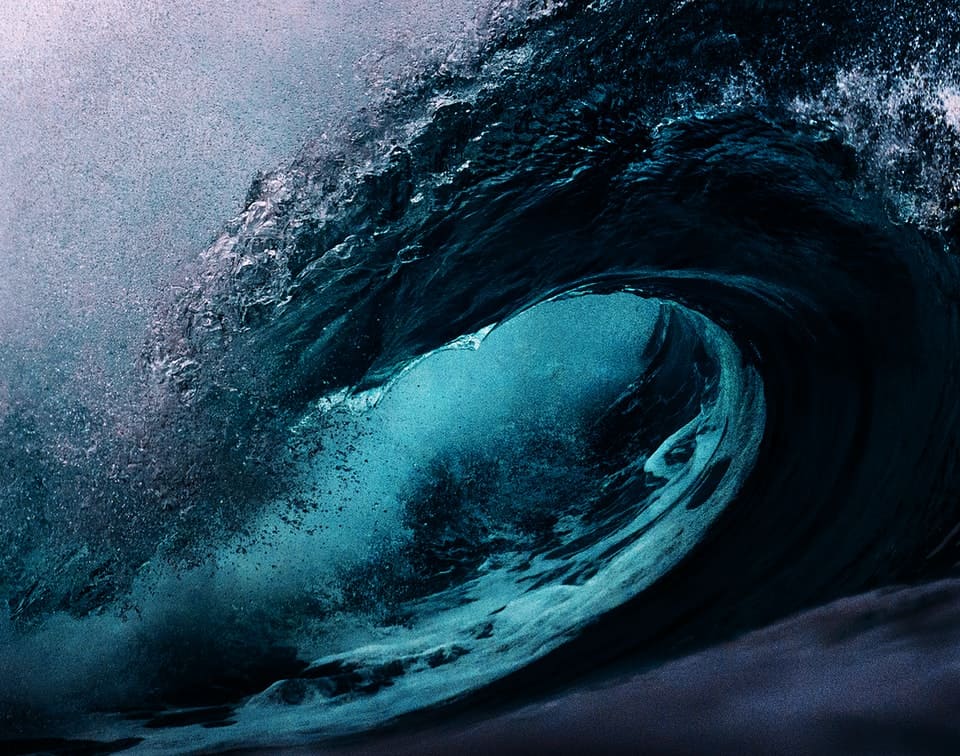

For most people, going to the ocean without taking a picture is nearly impossible. You’ve got dramatic blue waves, dry and trodden sand, and the occasional sea bird. However, capturing mind-boggling ocean pictures is easier said than done.
Looking to improve your photography? Just enter any questions you have about improving your photography below and hit send and get answers & feedback instantly - for FREE! Submit QuestionsWhat makes the ocean an excellent subject for landscape photographers is its constant motion. This opens up tons of photography opportunities and challenges for you as a photographer. In this post, we will cover everything you need to know to master the art of ocean photography.
Whether you’re a complete photography beginner or already know your way around a camera, the following information will help you completely transform your landscape photography game. But first, why is the ocean so challenging to shoot in the first place?
Understanding the Ocean as a Subject
Above, we mention how this type of photography is much different than your traditional landscape photography. The biggest challenge is dealing with the motion of the water. Many photographers confuse ocean photography with seascape photography. However, the two are slightly different. Seawater is generally calmer than ocean water; therefore, it requires a distinct photography technique.
The ocean is hostile, but all of that action is what accentuates the beauty of your picture. With that in mind, you can do a few things to conquer the ocean’s might.
Essential Ocean Photography Gear
Bringing the right gear is vital for any landscape photography project, and the ocean is no exception. To ensure you get the perfect shot, make sure to pack the following:
- A Sturdy Tripod. Let me know if this sounds a bit familiar to you. You have a perfect shot ready, but right as you’re about to capture, your tripod shakes, and the opportunity is gone forever. The weather at the coast can get pretty hectic, so you’ll want to make sure you have a reliable tripod.
- Water-resistant Shoes. It may seem obvious, but you’re likely going to get wet when capturing the water. Make sure to wear water-resistant shoes like Crocs or water shoes to keep you comfortable.
- A Lens Cloth. Having some cloth to wipe your lens with comes in handy whenever you’re shooting around the water. You can throw a whole bunch in your backpack before you head out.
- Filters. Filters will help you tremendously when trying to capture the ever-moving water successfully. Two of the best options are ND filters and a circular polarizer.
9 Simple Ocean Photography Tips
Here are nine easy ocean photography techniques to help you take mesmerizing pictures:
1. Go at the Right Time
One of the most critical aspects of ocean photography is knowing the right time to go. A warm sunny day might be the first thing that pops into your mind. However, search for other times that might offer the chance to get a more dramatic image. Many serious photographers prefer to go in the early morning or evening. The sunrise or sunset acts as a beautiful backdrop during these golden hours.
Also, it might be wise to check the weather before heading out. Knowing the weather forecast will give you a better idea about what kind of lighting you will be working with.
2. Packing the Right Equipment
Above, we talk about the best gear to bring when taking pictures of the sea. A huge part of getting the perfect shot is being well prepared. Many beginner photographers make the mistake of packing too much gear and end up lugging around extra weight. All you really need is a tripod, filters, lens cloths, and the appropriate clothes.
If you want to take a wide array of different shots, pack a mixture of lenses. Typically a wide-angle lens is most suitable for capturing images.
3. Try Different Shutter Speeds
Slow shutter speed can bring out some cool elements in the water. Long exposure produces a clear flat horizon, where a medium exposure will make the water come to life. Remember, long exposure shots are much better with ND filters. Also, don’t forget to adjust your ISO and aperture to get that perfect shot.
Finding the right shutter speed relies a lot on trial and error and the type of shot you want. Don’t be afraid to experiment and try new settings and filters.
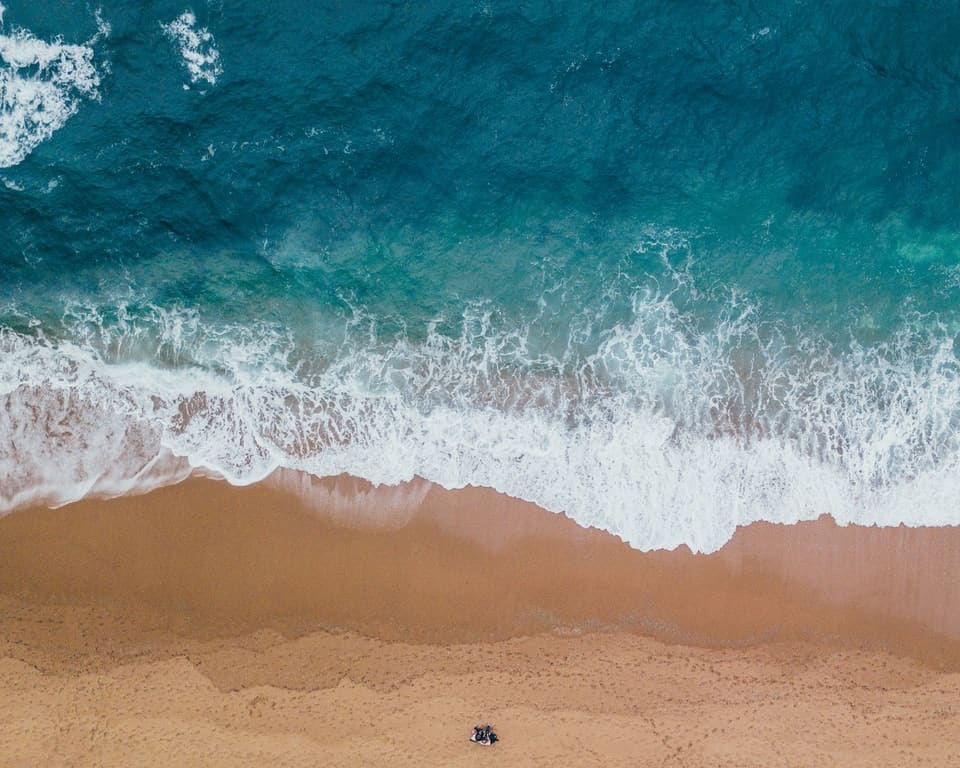
4. Find a High Vantage Point
The higher you go, the more depth you’ll get in your photo. Finding a nice cliff to rest on will help you capture an assortment of different colors and textures. You’ll notice that the turbulent waters appear calmer when you climb up to a higher vantage point.
With this in mind, the higher you go, the stronger the wind. If you’re shooting from on top of a cliff, make sure you have a sturdy tripod to protect your camera. Also, you might want to pack a windbreaker or a raincoat.
5. Shoot At Different Seasons
Most people automatically associate the sea with summer, yet there’s so much potential all year round. In the winter, the entire setting looks almost entirely different. You have fewer people, new colors, and new shapes in the sand. If you take a photo in the summer, try going back to the same spot in the winter, and you’ll notice the contrast.
6. Add People to Your Shots
Adding people to a landscape image and your fine art prints might seem unorthodox for some photographers. However, the human element can bring more life and scale to your pictures. Like with mountain photography, people can be a good point of interest and add a little bit of story.
7. Lighting is Everything
As you may be aware, lighting can make or break your shots. The right lighting and clouds can tremendously enhance the quality of your images. That being said, the light around the sea is ever-changing, and it can be tricky to keep up.
Keep a sharp eye out for how the light interacts and reflects on the water, and learn to use clouds to your advantage. Combine all of the elements around you, and you’ll, without a doubt, go home with some stunning pictures.
8. Find a Good Spot and Keep Going Back
Once you’ve found your spot, return at different times and seasons to get various other shots. There’s nothing wrong with being consistent. Plus, since you’re already familiar with the area, you’ll know what to expect in terms of lighting and weather conditions.
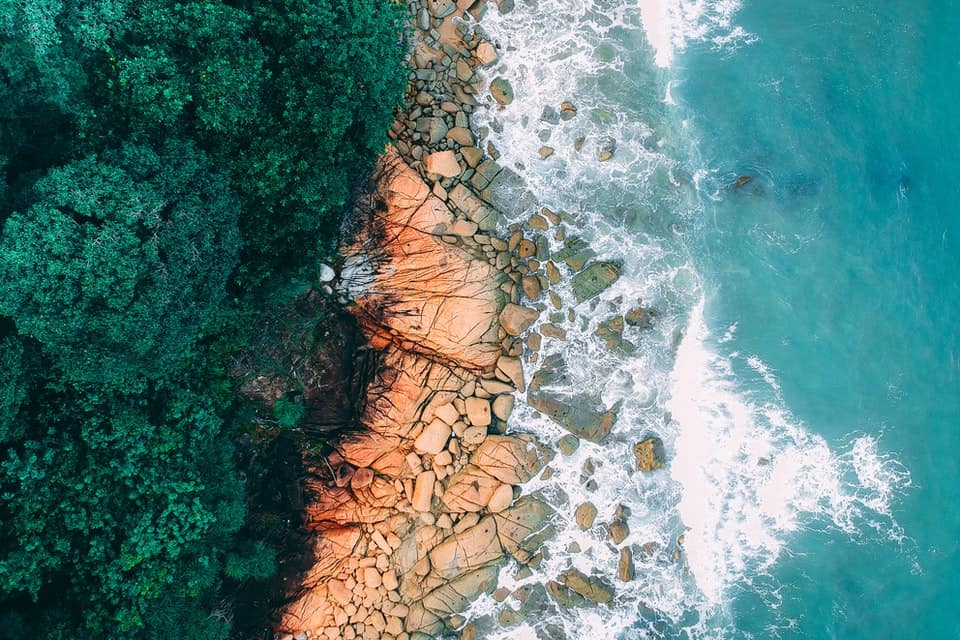
9. Choose a Point of Interest
Most compelling photos of the sea have a strong focal point. You’ll commonly find dramatic images focusing on an abstract rock formation, a person wondering the sand, or even whales or dolphins. Whatever you choose as your point of interest, make sure it’s straightforward and easy for the viewer to pick up.
Ocean Photography Safety
The ocean is dangerous, unpredictable, and unforgiving. Before embarking on your journey to become an expert ocean photographer, consider the following safety precautions:
- Carry a Flashlight. If you plan on shooting the sunrise or sunset, make sure to have a flashlight, so you don’t trip on any rocks. Not only will a fall break your camera, but it can also cause serious injuries.
- Pay Attention To The Water. Sometimes rogue waves appear out of nowhere. One moment the tide is calm, and the next, you’re completely submerged in water. If you’re standing close to the water, pay attention, and try to spot any unusually large waves.
- Be Aware Of Strong Winds. The wind can be overwhelming. Always prepare for strong winds, especially when on top of cliffs. Don’t stand close to the edge if you feel the wind is powerful enough to push you around.
- Look Out For Wet Rocks. Wet rocks equal a slippery surface. The last thing you want while taking beautiful pictures is to slip on a rock and bust your head open. If you notice a rock is wet, but you need to cross it, make sure to hold onto something sturdy to prevent you from falling.
- Be Careful Around Wildlife. No matter how tempting it might be, never touch any sea creatures you come into contact with. You never know if the animal is poisonous or aggressive.
3 Professional Ocean Photography Methods
Here some simple yet effective ocean photography techniques used by various professionals:
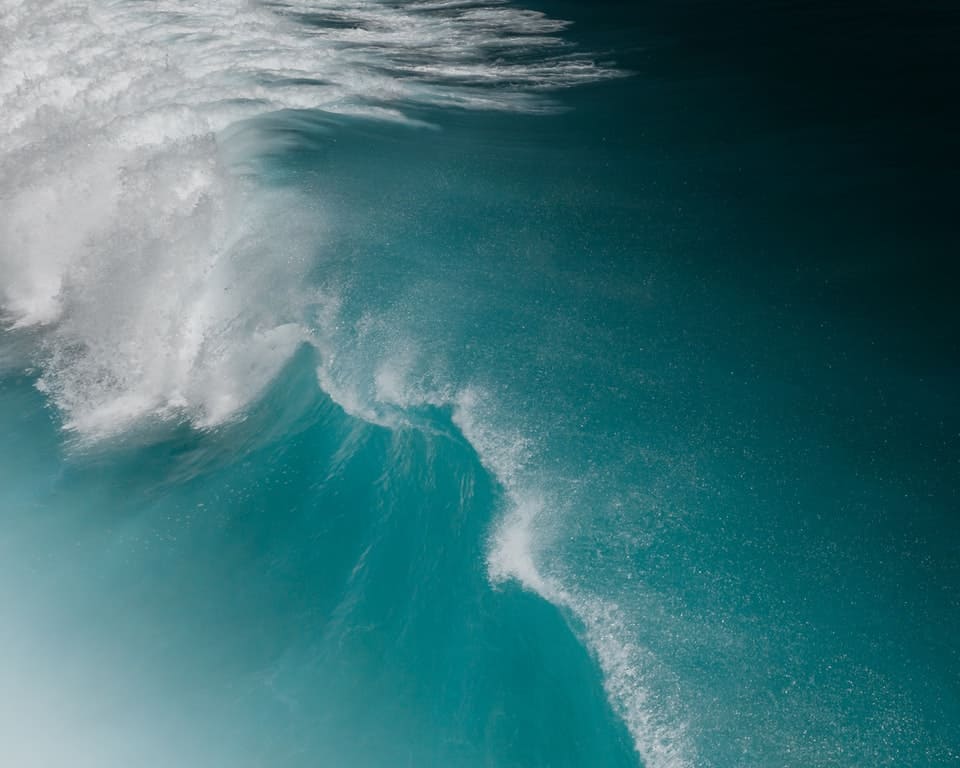
Utilize Incoming Waves
Incoming waves move much faster than receding ones. So, to successfully capture the changing patterns, you’ll need to adjust your shutter speed accordingly. To add more movement to your photos, try positioning yourself in front of small rocks, and they can produce beautiful breaks in the waves.
You can decide to run away from the water or stay put; it depends on how adventurous you want to be. If you choose to stand your ground, make sure to firmly place your tripod in the sand to prevent your camera from taking an unwanted dive.
Sand Reflections
Most people don’t know it, but the sand can produce beautiful reflections. The best time to achieve this photographic phenomenon is during low tide. After the waves frequently crash on the flat smooth sand, you’ll notice the sun gently reflecting on the surface. With the right lighting, you can capture a fantastic shot.
Use Sunburst Effects
Oceanscapes naturally create sunburst effects. First, use Google or another app to figure out when the sunrise or sunset is, then get into position. Remember, the sun is a fast mover, so you’ll have to be vigilant.
The idea is you don’t want full sunlight; you want it to be only partially visible. A dark object will accentuate the sun’s rays, creating the famous sunburst effect. You can either use the horizon or a physical object, like a cliff, to partially block the sun.
Conclusion
Do you think you’re ready to take on ocean photography? Many beginners picture this photography as challenging, and it is. The water is an exciting but wild environment. If you plan on using it as a subject for your photos, remember to keep safety at the top of your priority list.
Then, pack up your gear and get out in the field to try some of the above techniques first-hand.
Also, don’t be afraid to get out of your creative comfort zone. Try different shots, filters, effects, and locations. We know ocean photography isn’t easy. But with a little bit of patience and the right technique, anything is possible.