
Stuck with the muck? Here are some photography tips for making ugly locations look amazing!
One of the most iconic images from my home state of Wyoming is the T.A. Moulton Barn. If you’re a fan of landscape photography, I’m sure you’ve seen an image of it. There are about 8.98 million images of it floating around, and for good reason. The barn, with its rich wood textures and historic charm, is set against the backdrop of the stunning Teton mountain range. Together, they create one seriously amazing location. But really, anybody with a pulse can shoot that scene and still have a good image. But what about those of us shooting in places less picturesque than Jackson, Wyoming. What are us poor slobs to do? When you can’t shoot in the Tetons or other ideal environments, here are a few tips for making ugly locations look amazing!!
Looking to improve your photography? Just enter any questions you have about improving your photography below and hit send and get answers & feedback instantly - for FREE! Submit Questions
What makes a location “ugly”?
Beauty is certainly in the eye of the beholder. What makes a location blah for you might be the exact thing your clients, or another photographer, loves about it. Or the location might hold sentimental significance to your client, so you have to make the best of the situation.
So start by identifying why you dislike the environment or scene. Once you’ve identified those ick factors, you can start to come up with ways to avoid them.
Your ick list might include things like:
- Poor light
- Trash, debris or clutter in the background
- Lots of distracting elements
- Dead foliage
- Not enough space
- Crowds of people
- Just not your vibe
Making ugly locations look amazing is a skill just about every photographer will need at some point. Lifestyle photographers get invited to dark, cramped houses. Portrait photographers get locations with beautiful scenery and hundreds of other people. Event and wedding photographers have to deal with people, clutter, trash and highly variable lighting.
Use our tips below to overcome these shortcomings.
Do you really need to make ugly locations look amazing? Or can you adjust your plan?
Clients don’t understand the work that goes into a photo session. They see the end result and want that without realizing how it happened.
If your client chose an ugly location, talk to her about it. Why does she like that location? What is it about the area she is drawn to?
After ferreting out her responses, educate your client on your creative process. Ask her to consider some alternative ideas. Maybe adjusting session time will make better use of the light and the direction it’s coming from. A more suitable location could present her with the same vibe and better conditions for you!
When you’re new to taking clients, it can feel really scary to tell them no. Like back talking to the principal kind of scary. But YOU are the professional photographer. Your client wants your expertise. So educate her! Together you might come up with a better plan.
The same is true for wedding and event photographers. Don’t be afraid to suggest alternatives to your client. A different location might make for more beautiful first look images. Awards photos could look cleaner in a corner than on stage. Your client can’t use your suggestion if you don’t make it!
Tips for making ugly locations look amazing
Sometimes, though, we really are stuck with the muck. Here some ideas for turning a sow’s ear into a silk purse, as my dad used to say. Translated for all you non-Wyoming folk…make ugly locations look amazing.
Focus on emotion, not environment
Use your photography skills to showcase the emotion of the scene and subjects, not the environment. Give your clients prompts to elicit those emotions, whether that’s joy and love or confidence and grace. Consider the photo above of the happy toddler in the sand. Does it matter that the sky is dreay and dull? No! We are captivated by that impish little grin! Make decisions in-camera to highlight those emotions and more often than not, the physical backdrop doesn’t matter!
Walk Around!
My best advice is to move your feet and examine the entire area you have to work with. What looks positively unusable at first glance may surprise you! Look around corners, on the opposite side of buildings and the back side of trees. You can find some really cool pockets of photographic heaven with a little exploring.
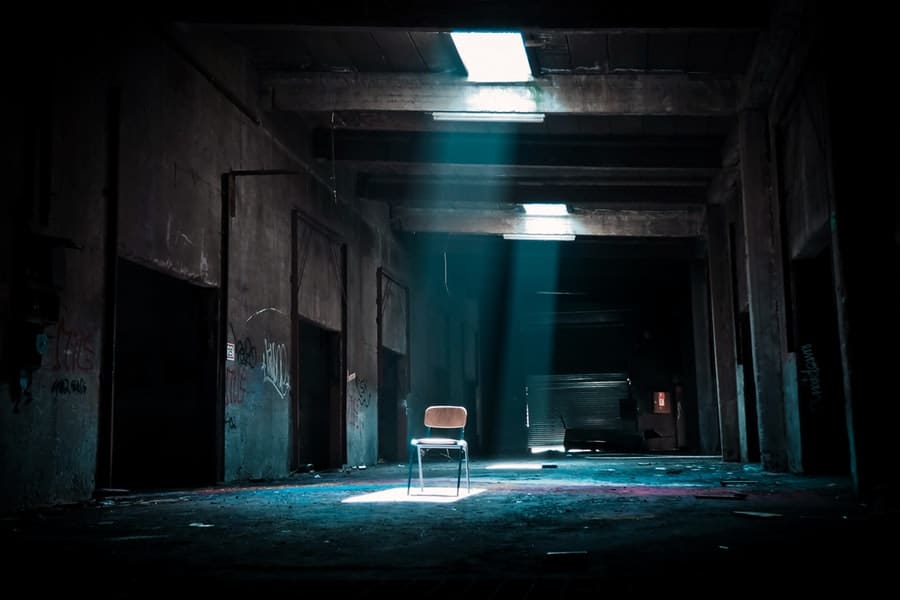
Add light
If your biggest hang-up with the location is poor light, find some way to add light! Open curtains, blinds, and doors to flood the area with light. Use a reflector to bounce light back into your scene. Shoot at the edge of the shade to maximize the light that is available.
If you just don’t have enough natural light, bring your own portable sun, otherwise known as a flash. Light your subjects, fake a sun or add dimension. If the area has really ugly light, like the terrible florescent light in a high school gym, use a gelled flash to match your flash and ambient light and color correct both in post. Or use your settings to eliminate the distracting ambient light and light your subjects only.
Read our tutorial on shooting on overcast days here!
Avoid or eliminate clutter/distractions
If you are shooting in a clients’ home, ask permission to gather up the clutter and temporarily relocate it. This could include pictures hanging on the wall, items on crowded shelves or even major pieces of furniture. Most clients will trust your eye and be happy to help accommodate it.
Outdoors, look for open areas free from clutter. Turn around in a circle slowly and evaluate the area. Can you alter your shooting position slightly to avoid the orange traffic cones or portable toilet?
Shoot wide
If you can’t get away from an ugly background, render it into oblivion using the power of your camera and lens. Shoot with a wider aperture to have a narrow depth of field. Background elements shot at f/8 might not look near as distracting when shot at f/2.8.

Get your subjects away from the background and use a telephoto lens
Another way to render that background smooth and creamy is to get your subject as far away from it as possible. You can also use a telephoto lens to help smooth out backgrounds. Get as far from your subject as you can, then zoom in on them to create your composition. This harnesses the power of compression, which is optically squishing a scene from front to back. A portrait shot with a 35mm lens at f/1.8 might not be as pleasing as a portrait shot with a 200-500 mm lens at f/8. Knowing your lenses and their capabilities can definitely help in this situation!
Find lights to create cool bokeh
Are there areas in your scene where you can light your subject correctly and take advantage of background light? That helps create really identifiable bokeh, or those out of focus orbs of light. Look for strands of light (or add your own!) or light coming in through trees or other objects.

Shoot tight
If the scene is ugly just exclude it by shooting tighter portraits. Use a telephoto lens to get in close and make your subject the star of the show, not the hideous weed patch or dumpster. Sometimes a single sliver of blank brick wall or a tiny bit of open space is really all you need!

Use good composition
Good composition can make ugly locations look amazing, or at least more visually appealing. Evaluate your scene. Are there opportunities for framing? Do you have natural leading lines to work with? Make use of symmetry or reflections or the rule of thirds. Just because the location is unattractive doesn’t mean your composition should be!
If the space is small, shoot through doors or windows or down hallways to add a sense of space and dimension!
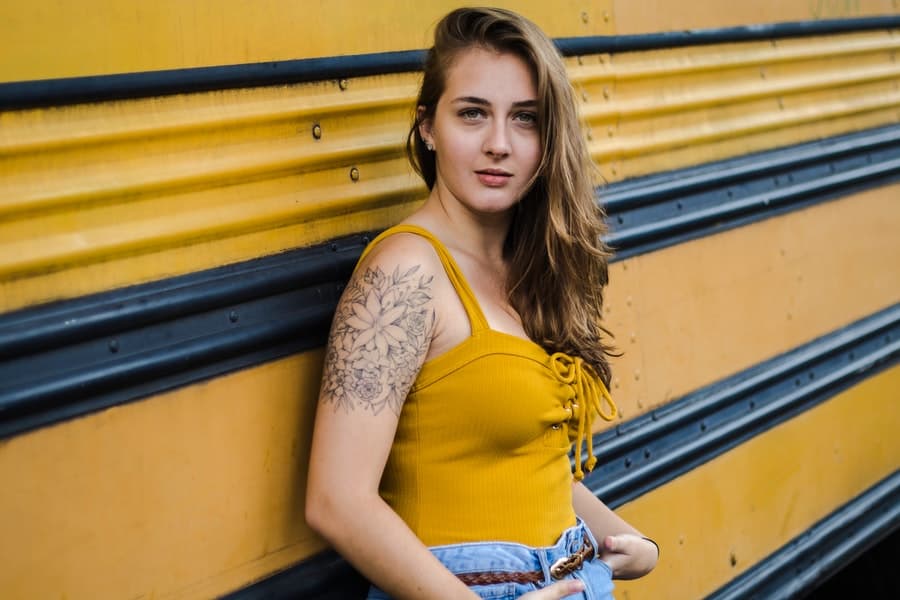
Play with color and texture and contrast
Use the colors and texture in your scene to make your images more visually appealing. A wall full of graffiti, for example, can make for a really cool backdrop when paired with a neutral top. The texture of corrugated metal might be a fun contrast to your client’s smooth pink party dress.
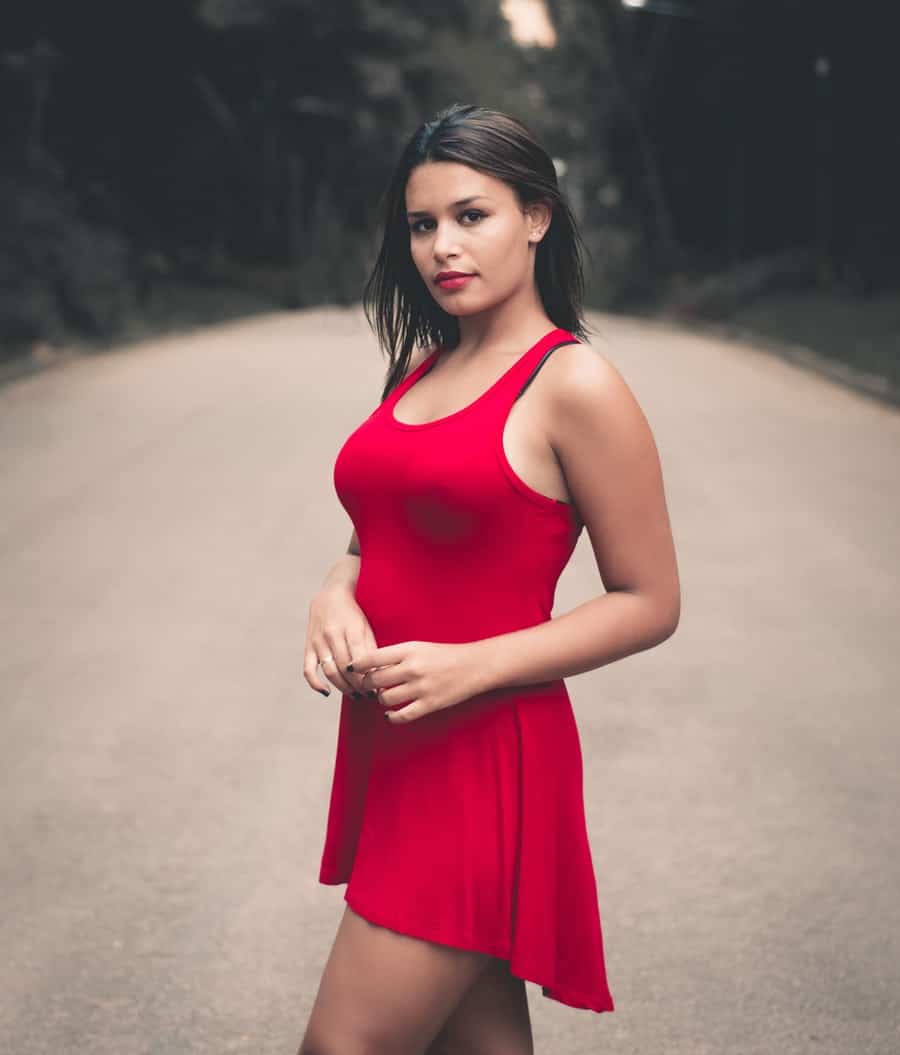
Adding pops of color is another great way to overcome drab light or monochromatic scenes. Consult with your client on her wardrobe or props. For example, a bright red dress can look stunning against a landscape of brown grass and leafless trees. A bright yellow umbrella adds a pop of color to an otherwise drab and dreary day.
Change angles
I have a terrible habit of shooting most of my portraits straight-on. Taking different angles not only provides variety to your clients, it can help make an ugly location look amazing. Or at least make it less distracting. Get down low and shoot up toward your subject to eliminate distracting elements on the ground. Or get high and shoot toward the ground to avoid elements like ugly ceilings or obnoxious signs.

Want ideas on working the angles? Read our tutorial!
Try different poses
You aren’ the only one that moves…your subject can probably move too! Try some poses where your client is sitting, kneeling or lying down. Lean him perpendicular to that ugly wall and shoot down it. Have her lean down on the railing but look up. Sometimes better posing can help make ugly locations look amazing.
Get creative in post-production
Our goal should always be to get as close to perfect with our images as we can in-camera. It simply makes good business sense, because the less time we spend editing things we could have fixed on location, the better.
But sometimes, you might need or want to enhance your image in post-production. It could be as simple as cloning out some power lines or an ugly sign. Add a light flare or bokeh. Clean up a background by mirroring the pretty side and blending it in over the top of the ugly side.
If you have mad Photoshop skills, put them to use and create the epic portrait of your dreams. Photographers like Jackie Jean Acosta use digital skills to enhance a portrait and turn it into a work of art.
The sky really is the limit on digitally enhancing your images.
(Speaking of skies, you can totally add in a different sky in Photoshop, too! See our video below!)
Take the ugly location challenge
Every so often, a challenge make ugly locations look amazing flits through social media. For a while, the Hobby Lobby portrait was the rage. I also saw quite a few photographers shooting in Lowes and Home Depot after this photoshoot made the rounds.
You don’t need a social media challenge to improve your skills in making ugly locations look pretty. All you need is some ambition!
Challenge yourself to shoot in different areas and make ugly locations look amazing. Grab a friend and go on a photo walk around your town. Explore a public park or space with fresh eyes. Or just use a stuffed animal and your own home. Practice implementing the tips above. You might just surprise yourself with your creativity and find new locations to use with clients!
Pro tip: Share your homework on your social media feed and get double the mileage out of your efforts. Write a blog post talking about what you look for in shooting locations. Share a few of your best images with the pull back. Give tips for moms and dads on how to make the most of their own space. You’ll build skills, improve creativity AND help establish yourself as the expert.
Be safe and legal
Be safe. Don’t ever compromise the safety of your gear, you or your client trying to get an epic shot. If you know you’ll want to work different angles, bring your own sturdy step ladder or seat for your client. Wear the right footwear. Ballet flats might look amazing in a junkyard but tetanus isn’t cool.
Be legal. Don’t ever trespass on private property or duck under barriers. If it isn’t your property and you don’t have permission to be there, don’t shoot there. Don’t risk a ticket, an injury and a hit to your reputation as “that photographer.”
And don’t forget about copyrights and trademarks. You can’t use someone else’s intellectual property in your commercial work.
Respect the location. Don’t get so overzealous in your attempt to do something cool that you compromise the location itself. In 2016, a photographer burnt down a historic and beloved building screwing around with steel wool. Your session, your client is not so important that you can destroy someone else’s property!
Making ugly locations look amazing is no simple task. It takes an understanding of light, solid photography skills and a heap of creativity. But it is an important skill to have. We can’t always control our shooting environment, for lots of different reasons. But we can control our attitude. Embrace the ugly, the weird, the funky. Appreciate the area for it’s unique look and feel. Approach ugly locations with a problem-solving attitude instead of negativity and let it inspire your creativity. You’ll be a better photographer for it, I promise.