As a sub-genre of portrait photography, you’ve probably seen plenty of milk bath photography images pop up as a recent trend. By turning everyone’s favorite drink into a prop, photographers have been able to capture stunning, minimalistic portraits.
Looking to improve your photography? Just enter any questions you have about improving your photography below and hit send and get answers & feedback instantly - for FREE! Submit QuestionsIf you’ve never experimented with milk bath photography, the genre can feel intimidating. Whether you’re an amateur or an expert looking to try something new, here’s what you should know about working with milk bath photography:
Is Milk Bath Photography the Right Choice For You?
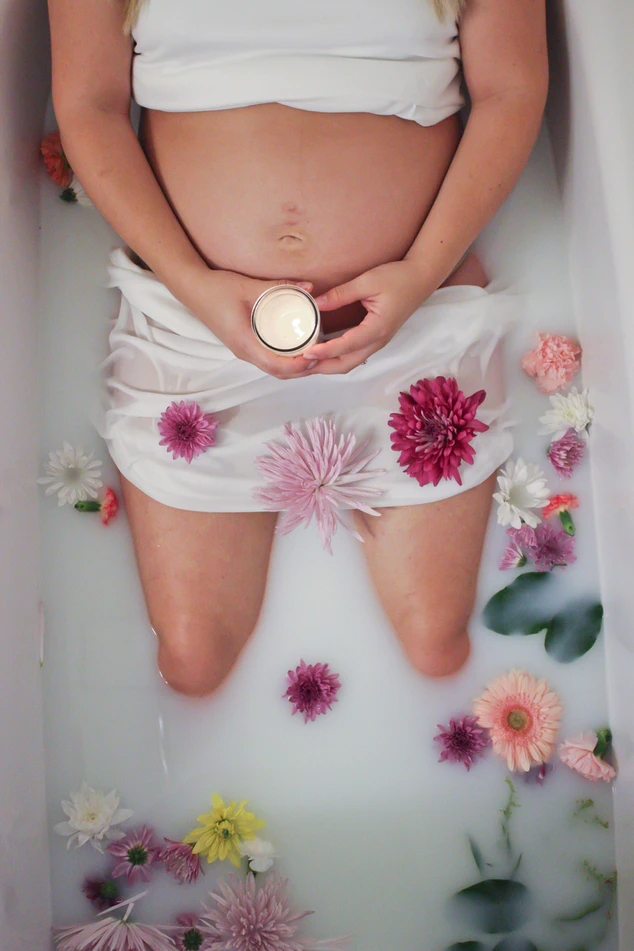
Photo by Kayla Maurais Licensed Under CC0
Before you start stocking up on dairy products or other props, it’s worth asking whether or not milk bath photography is the right choice for you. Milk bath photography creates a specific effect, and it might not be the one you’re looking for.
White, which many people associate with purity or innocence, surrounds the subject in the milk bath and highlights their features. The symbolism of white is one reason why this type of photography is so popular with pregnant women and milk bath maternity photos.
The bath can highlight the size of the baby bump, and the innocence of a new life in maternity. A milk bath for baby or milk bath baby is another popular way to use this genre.
The message you’re sending doesn’t always have to correspond with the meaning of the color or even maternity. Some people like milk bath photography because it creates an interesting effect as well as a portrait that looks minimalistic.
Before you do anything, it’s worth looking up what other people have done for milk bath photography and see what you love and don’t love. If you aren’t a fan of the milky white color or how it looks with a subject, this might not be the right photography genre for you.
However, if you’re looking to experiment with negative space and minimalism, milk bath photography could be exactly what you need.
Preparing For a Milk Bath Session
One of the downsides to milk bath photography is that it can take some preparation and a few props. You’ll need to prepare your bathtub for the shoot before you begin. Contrary to popular belief, milk baths are mostly water with some milk in the bathtub.
The amount of milk you add often depends on how translucent you want the bath to be. The more milk you add, the more opaque the mixture will be. Regardless of how you go about it, the most important thing is that both you and the client love the result.
When you’re preparing your bathroom and your tub for the shoot, you’ll need more than a few gallons of milk. Many people often add props like fruit, flowers, or herbs to the milk bath. These items make the portrait pop even more and can add additional symbolism or meaning if you want them to.
Don’t forget to keep your cleaning supplies close by, either. After you’ve gotten the shot you want and drained the mixture, you’ll need to clean your tub and remove any items you added to the milk bath.
A Quick and Simple Milk Bath Recipe to Try
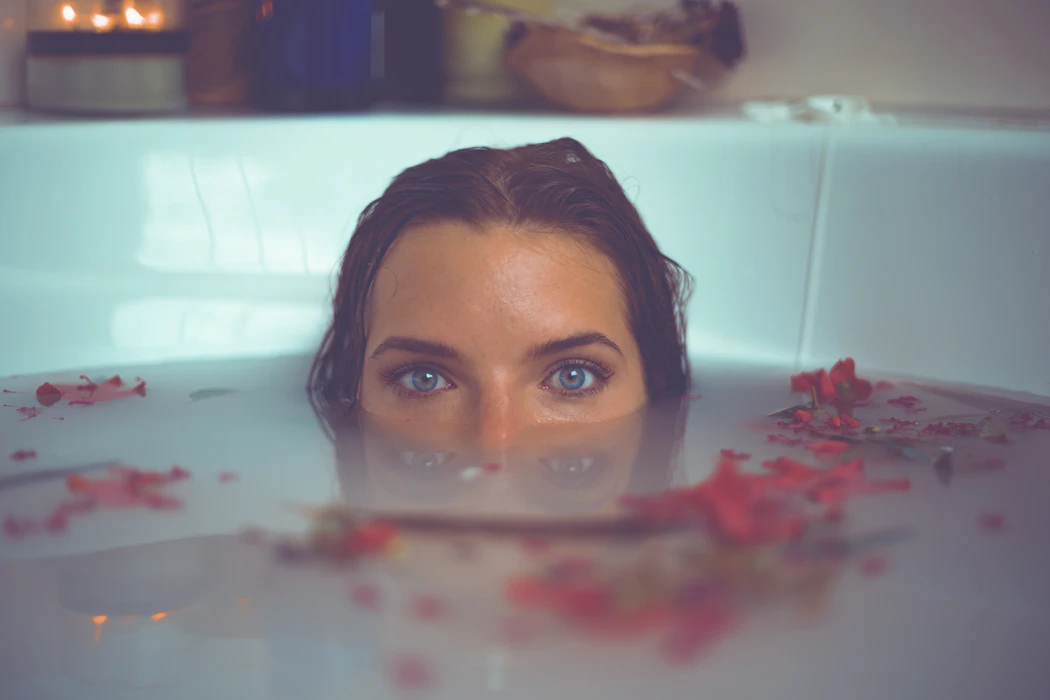
Photo by Timothy Dykes Licensed Under CC0
Although milk baths are all about experimentation, here’s a simple recipe you can try and play around with as you see fit. Keep in mind you can always cup up with your own recipe, and look one up online.
- Fill your bathtub with water – Instead of going straight for the milk, the first step in a milk bath is filling your tub up with water. You’ll want to add as much water as necessary for you to take your bath. Milk baths tend to be mostly water, with only a little bit of milk. There is no “perfect” amount of water to add, and it often depends on the size of your tub.
- Start with a tiny bit of milk (less than a gallon) in your bathtub – It isn’t wise to start pouring gallons of milk into your bathtub. A much better solution is to grab one cup or one gallon of milk and begin by pouring a little bit into your tub. Once the mixture settles and mixes with the water, you can decide if you want to add more. The more milk you add, the less transparent your milk bath will be. Since preferences can vary, there’s no exact measurement, but you can always add more later on.
- Let the mixture settle for at least fifteen minutes – Once you’ve settled on an amount of milk, you don’t want to hop in. It’s better to let the milk settle and mix in with the water so that you get the most effective result. If you substitute milk powder for regular milk, you might need to let it settle for longer in addition to stirring the mixture.
- Add your flowers or fruit last – Finally, the last step before you start snapping pictures is to add the flora you want. This can range from sliced fruit to flowers and even garnishes.
Lighting Tricks for Better Milk Bath Portraits
The best light to usually work with is natural light or some kind of lightroom. If you can move your tub near an open window or even move the curtains so that natural light streams in, you’ll already be off to a great start. Moving the tub to the lightroom is another idea.
However, not every bathtub is portable, and there might not even be a window in your bathroom. For this reason, some photographers choose to use an inflatable pool that they can place outside or even a hotel bathroom.
If you find that your location is too dark, you can always try using a reflector to get rid of unflattering shadows. Unlike natural light, artificial light will make it more difficult for you to take a good portrait, you can soften your milk bath photo by changing the color temperature.
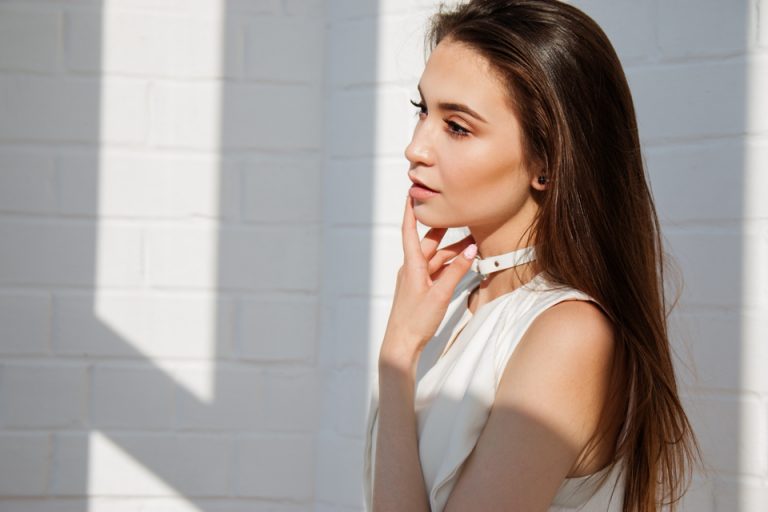
How to Choose a Wardrobe That Looks Good in a Milk Bath
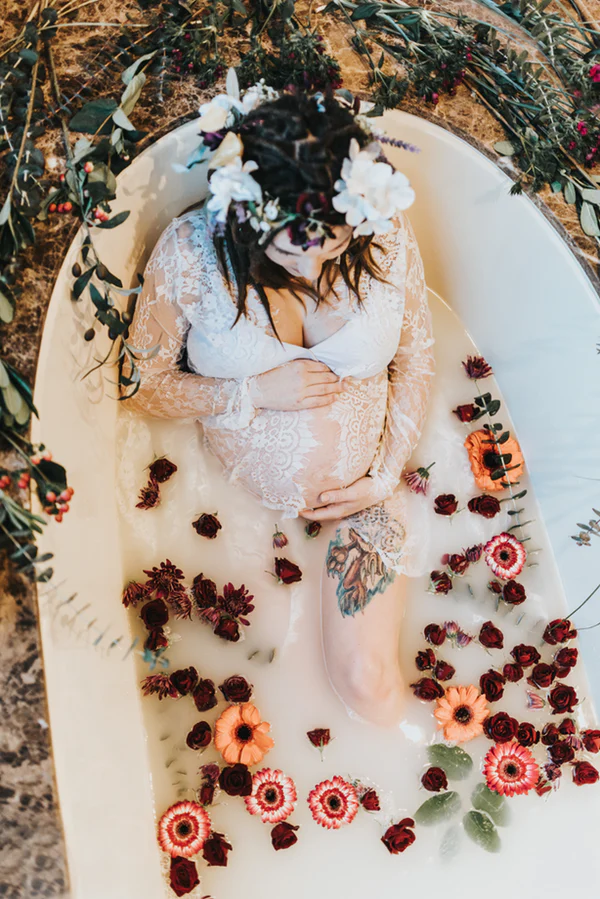
Photo by Sandra Seitamaa Licensed Under CC0
The wardrobe is an important part of milk bath photography. While some photographers fully-clothe their clients, and use the color from their clothing as another prop, others prefer to look as natural as possible. Not to mention, some clients might already have specific guidelines about what clothing they will (or won’t) wear in the water.
Delicate materials like sheer or lace tend to go well with an opaque milk bath and add to the ethereal look of the entire milk bath photography session.
Some photoshoots and milk bath photography sessions are even nude or use very little clothing to give the appearance that the model is nude. In this type of shoot, the opaque mixture provides coverage for the model, and there’s limited skin showing. Depending on where the photo will end up, some social media sites have stricter guidelines about what you need to censor.
One reason that some photographers prefer nude milk baths since there is no fabric or distracting clothing to draw the viewer’s attention away from the subject.
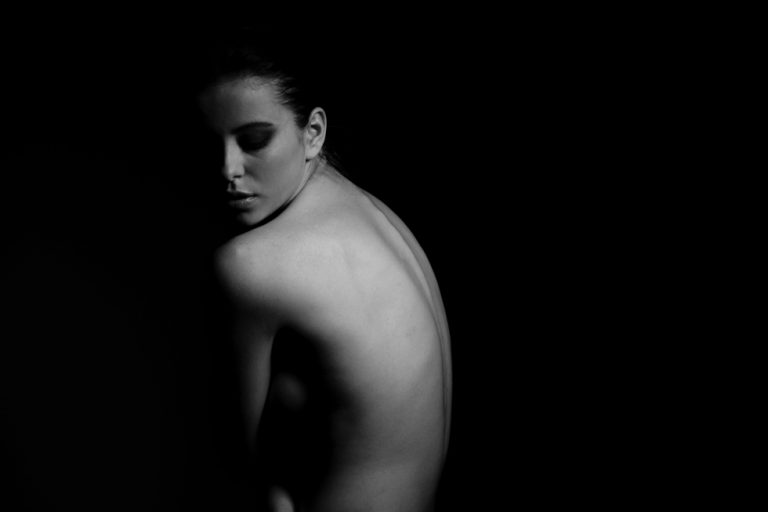
How to Pose Your Client During a Milk Bath Session
Photo by Noah Buscher Licensed Under CC0
One of the most challenging parts of milk bath photography is figuring out how to pose your model in the tub. While it can be tempting to copy or imitate poses that you’ve seen on social media and Pinterest, keep in mind that every shape is unique and requires custom positioning. Just because a pose looked good on one model doesn’t necessarily mean it will fit the tone of your shoot.
The best advice here is to work with your model’s body and natural shape. As they submerge in the tub, the water and milk might already do most of the work for you.
While you can ask your model to hold a slightly uncomfortable position for one or two minutes, it’s not a good idea to keep them in an uncomfortable pose for hours.
When you’re posing your subject, you’ll also need to consider what perspective you’ll be taking from the photo from. The most popular vantage point is to look directly down on the model, but every photographer can use their discretion.
Editing Your Photos After the Milk Bath Photoshoot
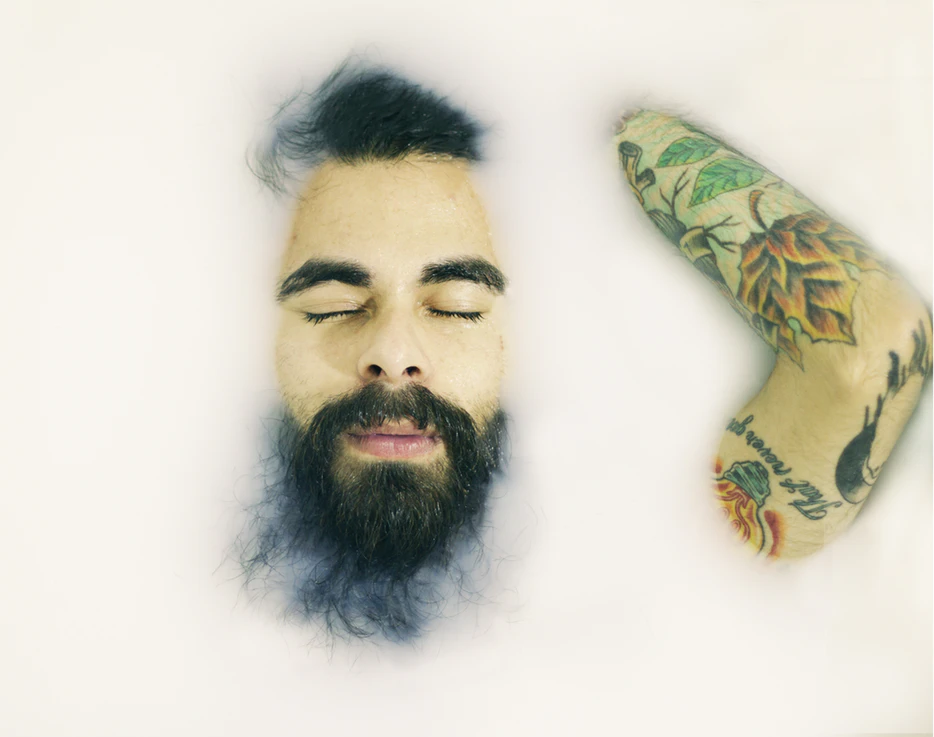
Photo by Sarah Cervantes Licensed Under CC0
Once the photo shoot is over with and you’ve got the shots you want, you’ll likely need to edit or touch-up your photos. Even great photos might require a little post-shoot processing. It’s not unusual to catch an unwanted reflection in the photo or have to deal with an unflattering shadow that popped up during the shoot.
Although it might require some editing, most photographers refrain from heavy-editing with milk bath photos. Since these photos are about minimalism, adding bold colors or tons of effects can be distracting and take away from the photo you’re trying to create and share.
You want to try and keep the photo flat so that it appears almost like a painting. The editing process for these images is really just about removing any distracting or unwanted reflections and shadows.
- Cropping Tool – If you’ve got anything near the edge of the photo that you don’t want in the final result, you can use the cropping tool to remove them. Photographers usually crop out the sides of the tub or pool too.
- Content-aware – Need to fix something? All you need to do is right-click, and then use the “fill” tool to erase the unflattering part you don’t want in the image.
- Cloning – To remove an object, the clone-stamp tool might be a great option. You can easily erase a distracting leaf or flower.
Interesting Milk Bath Photography Challenges
Now that you understand the basics of how milk bath photography works, there are a few different techniques you can do to make your final result look more impressive. Instead of using fake flowers and plants, try challenging yourself to make the image look more original.
Use Negative Space to Your Advantage
The milk in your tub often doubles for negative space, especially since it has a creamy white appearance. Don’t be afraid to use this negative space to your advantage by filling the tub with unusual items or even by experimenting with different lighting effects.
Experiment with Different Outfits
If you’re interested in exploring fashion design or looking to follow in the steps of another photographer, milk bath photography is an interesting way to show off your designs of outfits that you like. You can experiment with style, and see which outfits pair well with the milk (and which ones don’t).
As long as your model is willing and ready to follow your directions, there’s no reason why you can’t try out several different outfit changes to find what looks best.
Include Props That Compliment the Milk

Photo by Amy Peryam Licensed Under CC0
Certain colors pair well and follow with the milky background of your portrait. While flowers might be popular, there’s no reason to limit yourself. For instance, if your model has pretty blue eyes, you can always dress them in blue fabric and sprinkle a little bit of glitter into the tub.
Another interesting item to add to the tub is fruit. While it isn’t as popular as flowers, the brightness of an orange or the yellow pop of lemon can give your milk bath the splash of color that it needs.
Avoid Your Model’s Face
It’s common for milk bath photos to center or focus around the model’s face and features and try to follow this trend. If you want to try and challenge yourself, one thing you can do is avoid photographing the face. This will force you to take interesting snapshots of the model’s body, hair, or even clothing. It might shock you how well the photograph ends up coming out.
Milk Bath Photoshoot Tips
When it comes time to fill up the tub and grab the milk, try considering these tips to make your photoshoot and milk bath photography session more successful.
1. Photograph the Shoot in a Hotel
You might not always have the opportunity to shoot photos at a client’s house or your own. If the lighting isn’t great, you’ll need to relocate. Some photographers choose to use a hotel since it’s a neutral location for milk bath photography. Remember to call ahead and make sure the bathroom has a tub in it as well as a lot of natural light from a window.
2. Be Aware of the Water Temperature
It’s always a good idea to pay close attention to the temperature during a milk bath photography session. While you don’t want to get the water too hot, most models don’t want to spend hours lounging around in freezing cold milk while you take photos either.
3. Use Plant-Based Milk or Paint for Vegans
A great photographer always tries to accommodate the model for the photos. If your client is a vegan and doesn’t want to step in a tub full of dairy products, you can always substitute plant-based milk or another alternative like almond milk. If that is a little too expensive for your budget, another solution is to use non-toxic white paint for the milk bath photography session.
Important Milk Bath Safety Tips and Tricks

Photo by Luke Jones Licensed Under CC0
Like any photoshoot, it’s important to know the safety hazards ahead of time. Milk baths aren’t without their dangers, and any photographer should know the risks.
- Be sure to remind your client to bring a set of clean, dry clothes with them to the photoshoot. While this might seem like common sense, it’s also possible that your client could forget as well. The last thing anybody wants is to step out of the water without any dry clothes to change into.
- Make sure you have access to warm water. There isn’t a specific temperature for a milk bath, but it goes without saying that nobody wants to sit in freezing cold water for hours. If you already know your shoot is going to be an hour or longer, you’ll want to make sure your milk bath is warm enough for your model to tolerate. This is especially true for small children or babies who might not be subtle about hiding their discomfort.
- Double-check that you have a towel to dry off your model’s face while she’s in the tub and a bath mat for her to use when she gets out. Watching your model slip and fall is a poor ending to a good shoot.
- Don’t forget to add your flowers, fruit, or herbs last to the water. You’ll want to do this after your model has settled in so that everything stays afloat.
- Make sure your model isn’t allergic to any of the flowers, herbs, or fruit that you’re using in the water.
- If you plan to use real flowers, which some photographers prefer to fake flowers, try to avoid using any real flowers that still have dirt, pollen, or thorns on them. Not only could it be a safety hazard to your model, but it would also ruin the aesthetic of the milk bath too.
Conclusion

Photo by Maddi Bazzocco Licensed Under CC0
While it can take a little bit of preparation and plenty of materials, milk bath photography can also be incredibly rewarding. This genre can provide an interesting twist on traditional portrait photography, and as long as you’ve got plenty of milk (or non-toxic white paint) around the house, there’s no reason you can’t take a few shots or self-portraits in your tub.
Regardless of your experience level, don’t be afraid to try something new and experiment with milk bath photography.