
Understanding the zone system in photography makes you a better, more consistent photographer.
Have you ever photographed a session and felt like you rocked it, only to pull those images up in post-production have your exposure completely out of whack? Have you ever photographed a white dress only to see it looks gray in your images? Do you find you are constantly trying to brighten skin tones in post-production? Or maybe you struggle with keeping your blacks from looking washed out. Learning the zone system in photography can help!
Looking to improve your photography? Just enter any questions you have about improving your photography below and hit send and get answers & feedback instantly - for FREE! Submit QuestionsBy learning about color tones and where they should fall on a histogram on a correctly exposed image, you can take the guesswork out of setting, and nailing, exposure!
What is the zone system in photography?
Before digital cameras, there was really no way to quick way to double-check your exposure. There were no handy LCD screens or recovering tones in post-production. Only the painful realization that all your images were useless.
The zone system was first developed by Ansel Adams and Fred Archer back in the 1930s. The zone system was designed to provide a framework for determining exposure, ensuring that the photographer could create properly exposed images each and every time.
Despite it being almost ninety years old, the zone system in photography is still relevant today, in both film and color photography.
The zone system divides the tones in an image from all-white to all black (and all the shades of gray in between) into 11 different zones. The system was developed for black and white film photographers, but it can also be applied to the colors we can photograph today.
Why should I learn the zone system?
Learning the zone system in photography has a number of advantages. First, it helps you set a correct exposure for your image, regardless of the different colors or lighting in your scene. Second, the zone system helps you better understand your scene’s tones and dynamic range so you can compose and shoot an image. Third, it helps you understand when you might want to, or need to, use flash to get a correct exposure. And finally, it helps you know how to set up exposure bracketing correctly to seamlessly blend those images in post-production.
What does that really mean? Understanding and using the zone system to set your exposure will help you improve your images in-camera so you spend less time editing and tweaking tones later. Improve your technique, save time and celebrate with margaritas! Hurrah!
How does the zone system work?
The zone system divides the tonal range of an image from darkest to lightest into 11 different zones. Each zone is assigned a roman numeral. So the zone system looks like this.

In modern photography, we are really only concerned with about seven of those zones, specifically zone II to zone X because we want our shadows and highlights to still have tonality and texture.
Need a refresher on metering? We have just the tutorial for you!
Applying the zone system in photography in camera
So here’s the really cool thing where it helps in practical application.
Each Zone is 1 stop brighter than the zone before it, and 1 stop darker than the zone preceding it. Put another way, each zone represents 1 stop of light. Let me put that as a stand-alone sentence so it sinks in.
Each zone represents 1 stop of light.
That means to get a “correct” exposure, you can pick a tone in your scene and spot meter off it to set your exposure.
Here’s a written breakdown of the zone system in photography and how it works in the real world. In fact, I argue that you don’t have to memorize the zone numbers, just know how many stops of light that zone is from 0!
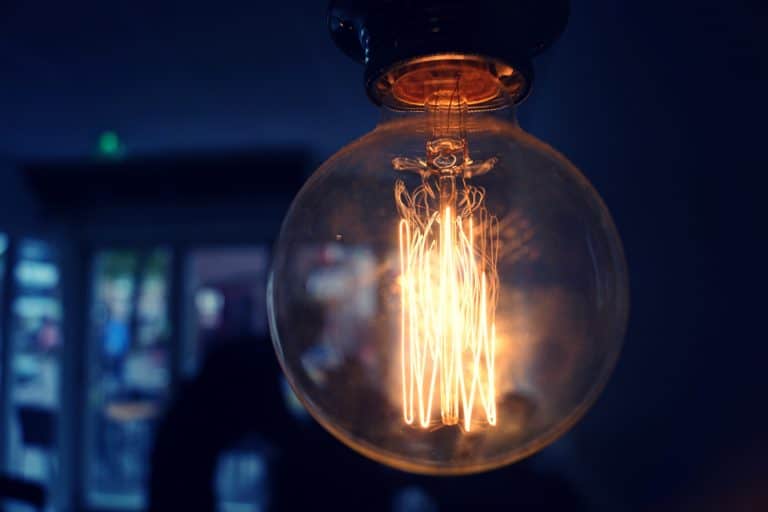
Zone II (2) – Black with just a little texture and tonality. This is -3 on your light meter.
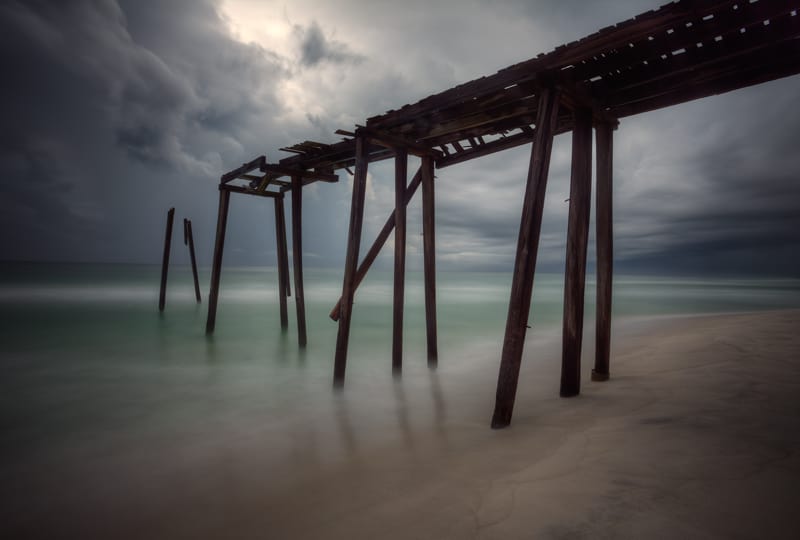
Zone III (3) – Dark tones that show visible texture and has detail. Examples of Zone III tones are black, dark brown, navy and dark gray. Trees in the shade, dark or wet wood, dark or wet rocks and animals with dark fur fall in this zone. This is -2 on your light meter.
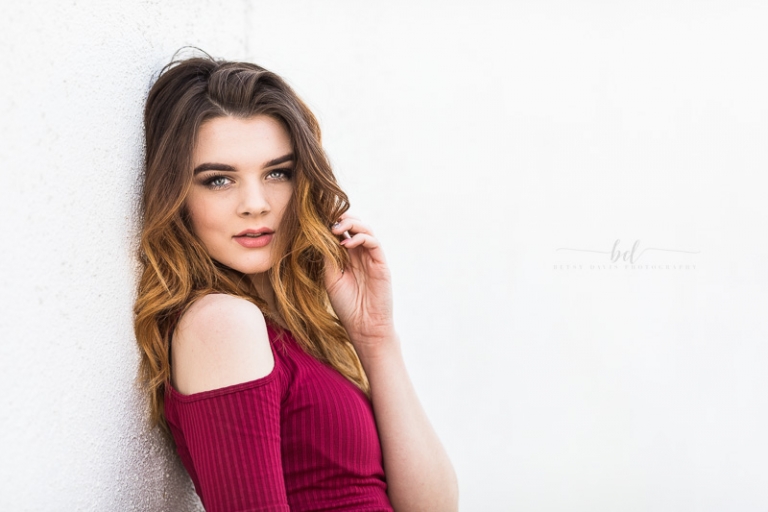
Zone IV (4) – Jewel tones with texture and detail. Zone IV includes tones like deep red, royal blue, deep purple, burgundy and dark green. In a scene, this includes evergreen trees, deep blue skies, dark skin, dark rocks, and landscape shadows. This is -1 on your light meter.
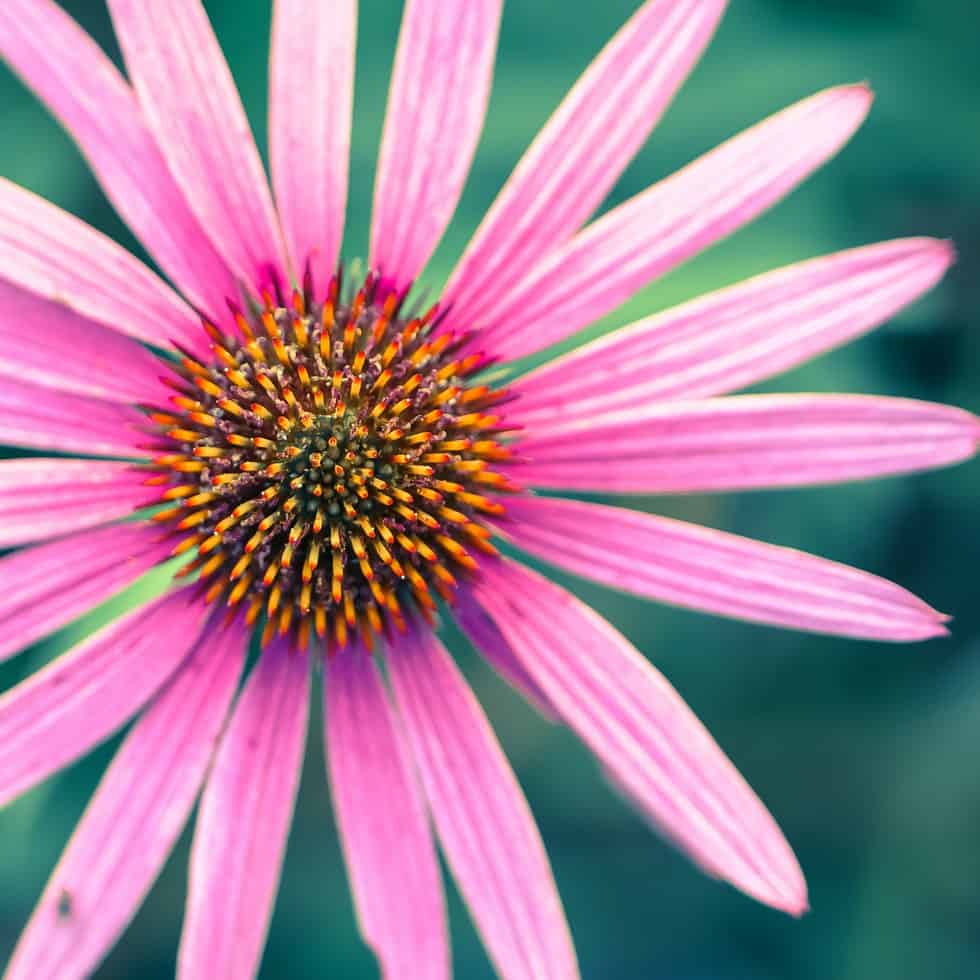
Zone V (5) – Middle gray! This is the average tone that your camera is trying to achieve when it is set to a 0 exposure. Zone V includes 18% gray and primary colors like red, green and blue. In practical application, Zone V includes a average blue sky, green grass, medium skin tones and dark orange or mustard yellow. This is 0 on your in-camera light meter!
Zone VI (6) – Now we are getting into lighter tones. Zone VI includes pastel colors. It also includes average Caucasian skin, a light blue sky and fog. This is +1 on your light meter.
Zone VII (7) – Whites with detail. Think white clothes, animals, white clouds, snow, sand, and smoothed out water. This is +2 on your light meter.
Zone VIII (8) – Whites with very little detail. This means super bright snow or highlights on Caucasian skin. This is +3 on your light meter.
Examples
Let’s look at a few different examples of how to apply the zone system in photography when you’re out shooting.
Below is a picture of our spare closet. Why my spare closet? Because I’m lazy and I can snap this picture without leaving my desk. But it’s also a great example of an image with LOTS of tones in it.

How would I meter this and set exposure? Where would I meter? There are a huge gamut of tones to pick from, where would I even begin?
Because I know the zone system, I can pick ANY color and spot meter off of it for a correct exposure. Since I know white with detail (Zone 7) should meter at +2 on my in-camera light meter, I will spot meter off of it and adjust my settings until my light meter reads +2. If I want to double-check that exposure, I simply spot meter off a different tone that I know and make sure it’s correct. In this case, I know pastels are +1, so I’ll put my focal point over the pastel swim bag and sure enough, it was showing me +1 on my light meter.
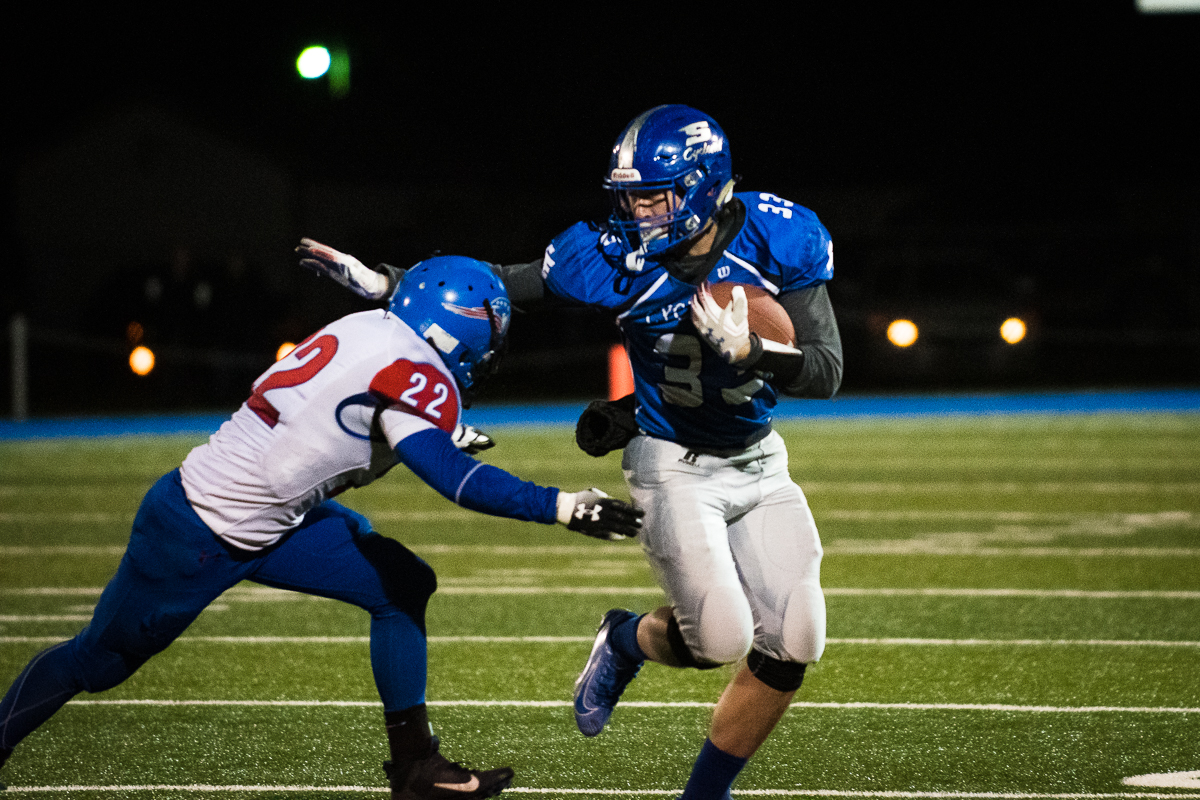
Here’s a second example. I shoot our local high school football team. To set my exposure for the duration of the game, I will spot meter off their uniforms. I know royal blue is Zone 4, or -1 on my light meter. So I spot meter off the uniform, adjust my settings to -1 and can be confident that the rest of my pictures will be properly exposed. As the sun goes down and the light changes, I can simply double-check that the royal blue of their uniform continues to meter at -1 in my camera and know my exposure is correct.
The zone system and common exposure problems
One question we see a lot at Cole’s Classroom is about correctly exposing multiple tones.

For weddings
“Should I expose for the groom’s tux or the bride’s dress or what?”
The answer? In a correctly exposed image, ALL of the tones will render correctly. The key is understanding where those tones fall in the zone system and how to expose that tone correctly. So if you have a black tux, a white dress and a couple with Caucasian skin, simply pick one of those tones to spot meter off of then adjust your settings so that tone reads correctly on your in-camera light meter. In this example, it would be -2 for the black tux, +2 for the dress and around +1 for their skin tones.

For different skin tones
“But what about mixed race groups?” you might ask. “How do I expose them correctly with so many different skin tones?”
Again, in a correctly exposed image, ALL the tones will render correctly. It’s about knowing where those tones should fall on your light meter and adjusting your settings accordingly. In the image above, I could have spot metered off of the Caucasian skin (about +1), the African American skin (about -1), the white table (+2) or the woman’s gray jacket (0).
In subjects with both dark and light tones, choose one of the tones, spot meter off it and adjust your settings so the tone falls where you know it should in your light meter.
For silhouettes
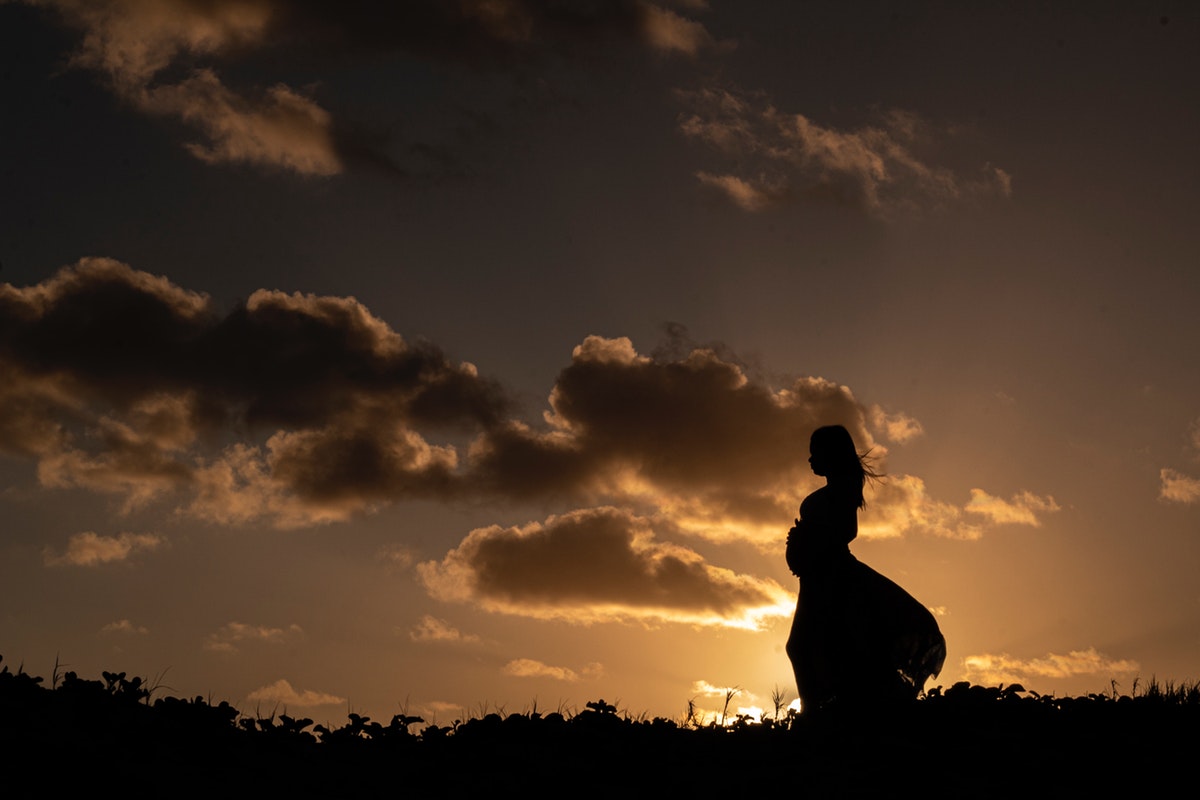
Understanding the zone system in photography also helps you when creating silhouettes. If your goal is to have a completely black silhouette against a beautiful sunset, you can adjust your settings quickly using the zone system. In this image, if you wanted the expecting mama to be black with no detail, you would spot meter off her body, and adjust your settings until your meter reads -3.
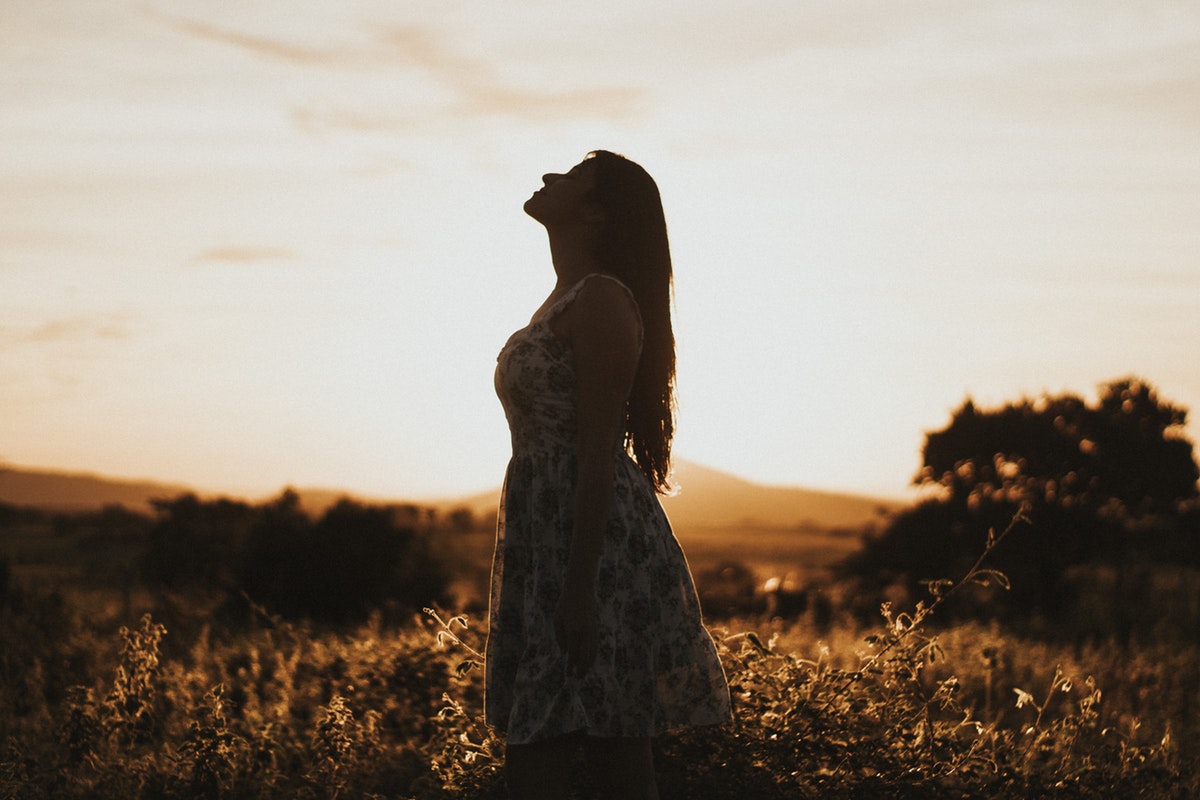
If your goal is to create a silhouette while still showing some detail and texture, as in the image below, you’d set your light meter to -2, or two stops underexposed.
Adjusting settings
One thing that has helped me with the zone system is to turn on my highlight warnings on my histogram. If I’ve lost all detail in my whites, or highlights, those areas will “blink” on my histogram. With one quick look at my histogram, I can see where those are lost and dial back my exposure accordingly. The general rule of thumb is that you can bring up dark shadows in post-production, but blown highlights are harder, if not impossible, to get back.
You may also need to adjust your settings by 1/3 or even 2/3 of a stop from the guidelines above. These are averages of the tones. Skin tones, especially, need to be tweaked a bit each time. Each camera records tones just a little differently and we all have our own style and aesthetic. But the zone system gives you a way to find a close starting place quickly.
There may also be times where you want to intentionally blow out your highlights or lose all detail in your blacks. Those are artistic choices and can lend strength and interest to an image. But those choices should be made intentionally, not because you didn’t get exposure right and now you’re stuck with it in post-production.
And don’t forget that if you change lighting conditions, you’ll need to meter and adjust your settings again. Middle gray will also be in Zone 0, but you’ll need to adjust your ISO, shutter speed or aperture to make it a middle exposure in each lighting scenario.
The zone system and dynamic range
The zone system will help ensure your subject is properly exposed in-camera. But it can’t ensure every area of your image is properly exposed. Our cameras simply can’t record the gamut of tones like our eyes can see them in a scene.
But we can use a system known as bracketing, where we purposefully under or overexpose our image and then combine those separate images into a single photograph in post-production.
The zone system can help with bracketing, too. Expose each major tone group correctly using the zone system, then combine the images into a single photograph in post-production.
For example…this is my kitchen.
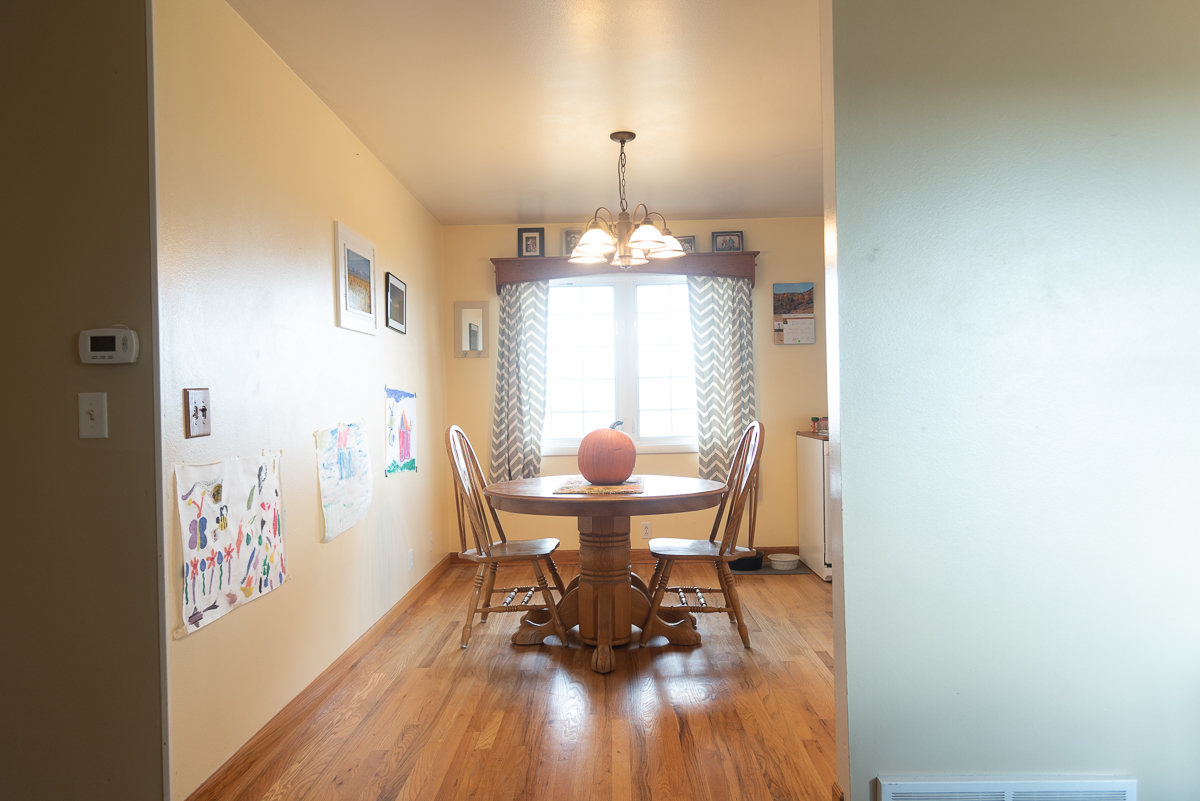
If I adjust my settings to the pumpkin is properly exposed, my highlights are blown out. If I ensure the highlights aren’t blown, everything else is dark and underexposed. But I can put my knowledge of the zone system to work. First, I correctly expose the pumpkin (Zone V, or 0). Then I expose so I don’t blow out the highlights coming in from the windows (Zone VII or +2). Then I expose so my shadows retain detail (Zone IIV or -2).
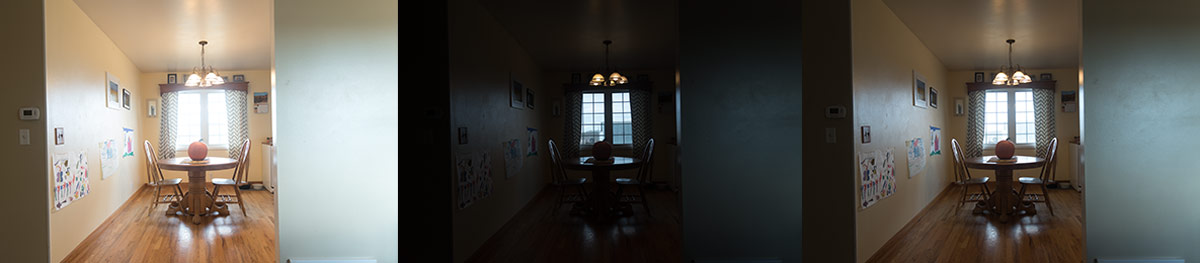
I combine them in Lightroom using the HDR feature and I have an image, that while not award-winning, does more closely represent what I see with my eyes.

Bracketing is a technique used by modern landscape photographers and real estate photographers, but it has its roots in the zone system developed in the days of black and white film. Pretty cool, huh?
Check out more landscape photography tips here!
The Zone System and Flash
Using the zone system in photography can also help when shooting off-camera flash. You have to take an extra step in some instances, but the fundamental concept works the same.
If you want to record all the beautiful colors of the sky and still have your (backlit) subject exposed properly, you’ll need to use flash. First, you’d adjust your settings for the sky using a known tone in the zone system, in this case, spot metering off the bright blue sky (Zone V or zero).
Then, we’d add flash to our subject, and just our subject. You can use a gray card to make sure your subject is properly exposed (read this tutorial on the mighty gray card), or you can put your knowledge of the zone system to work. If your subject is wearing a pastel pink shirt for example, take a picture filling your frame with only the pink shirt. Then look at the histogram on the back of your camera. You know pastel pink is Zone VI, or +1, stops of exposure. Your histogram spike of the pink shirt, if exposed correctly, should be centered over +1 on your histogram. If it’s not, you’ll either need to increase your flash power or decrease your flash power until it is.
If flash is the main light source, the zone system still works. Pick a tone, fill your frame with it, and adjust your flash and/or settings until the spike in your histogram is centered over the correct exposure value for that tone.
In the zone
You could easily shoot in a different metering mode and let the camera choose how your image is exposed. Or you could eyeball it and fix it in post-production. But good photographers make the camera work for them, not the other way around. Knowing and using the zone system will help you nail exposure more quickly, build consistency and reduce the time you spend tweaking those settings in post-production. It can also save you from a situation where you expose incorrectly and can’t recover that image in post-production.
So learn the zone system and how to use it and you can be confident you can rock even the trickiest lighting/color/tone situations!