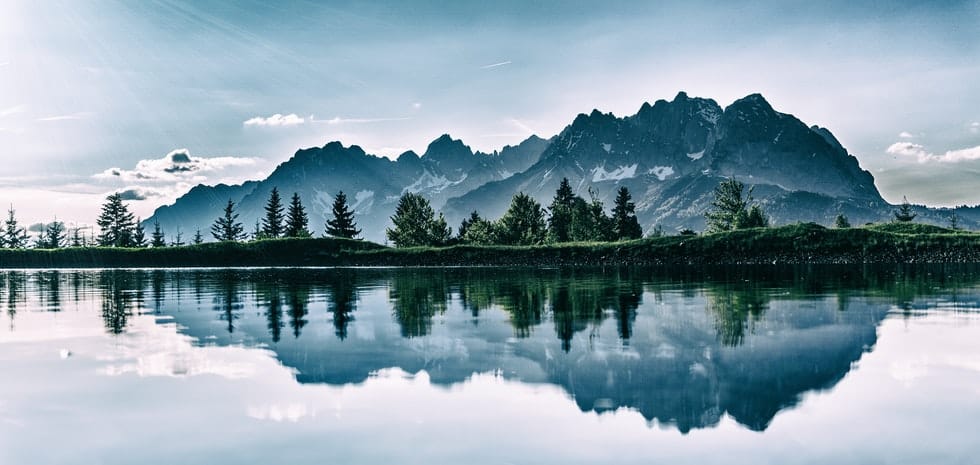
With Photoshop’s help, you can create breathtaking landscapes and epic shots with the software’s reflection capabilities. It is a photographer’s motivation to capture the perfect reflection. Not only does a reflection improve the subject, but it also adds another element of “wow” to the photo.
Preparing this reflection in Photoshop is not the most straightforward task. Your ability to create a reflection depends on the crowd, weather, and other unwanted subjects within the reflection. Because of the advancements in technology, especially with Photoshop, you can make this happen during post-processing.
In this article, we provide you a free comprehensive guide on how to make an epic reflection in photoshop. We deliver a step-by-step process for both a glass and water reflection in Photoshop, including other essential skills you may need when working with reflections in Photoshop.
Creating a Glass Reflection
You might be wondering how to mirror an image in Photoshop. The Photoshop mirror image process is involved, but you will become more comfortable with it as you work with more free photos and objects. The best type of photos to edit with a glass reflection are the images facing head-on, or when the lens base is resting on a horizontal line.
Expand the Canvas
To mirror an image in Photoshop, the first step is to enlarge your canvas. You must make sure that the canvas size is large enough to accommodate the subject’s reflection. Navigate towards the top of the application window, click the dropdown menu, select image, and then canvas size.
Within the dialog box, go to the anchor section and then click on the arrow that points directly up. This button will be the top middle square within the anchor matrix. What this option does is raise the canvas height to double what its original height was.
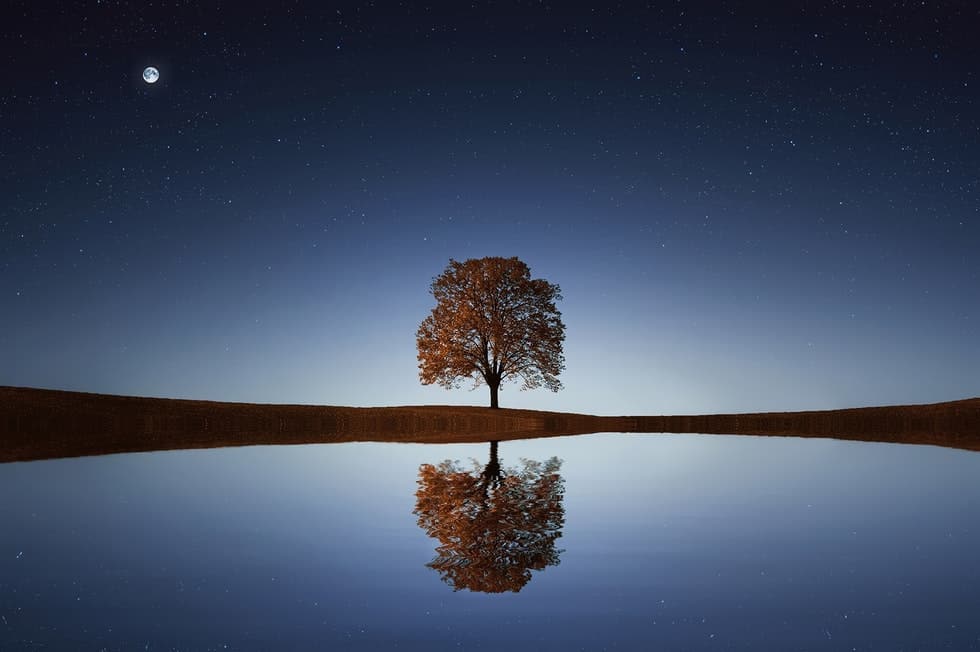
Choose Your Object
If your object has a shadow and a white background, you do not want to reflect this shadow. You want to focus on the subject only, so we will need to focus on that while working. Click on the magic wand tool, which is located on the left-hand toolbar in the application window. Then, choose the select object button, and then Photoshop will prepare the selection of your subject.
Copy and Flip Your Object
Make sure your subject is still selected and then copy the object by performing the standard command CTRL+C or COMMAND+C. Once you complete this step, the isolated subject will show up in the new layer automatically.
To copy your object, click the new layer and duplicate it by selecting layer and then duplicate layer within the dropdown menu towards the top of the application window.
If you want to stay organized, you should rename these layers accordingly. It would be best for you to name the lower layer as the “original” and the layer 1 as “reflection.” You can then rename the copy of layer 1 as “product.” When you arrange these layers within the layer panel, you should ensure that the reflection is underneath the product layer.
Prepare Perfect Symmetry with Your Reflection
Next, choose your reflection layer within the layers panel and select edit, transform, and then flip vertical within the dropdown menu towards the top of the window.
With the reflection layer selected, move the flipped subject image toward the bottom to rest underneath the product. You can do this by utilizing the move tool within the toolbar on the lift. You can also arrange the image by pressing down shift to make sure it aligns correctly with the baseline. This baseline will serve as your horizon for your final product.
Add in a Layer Mask
Once you have aligned the product and reflection properly, you should gradually prepare a new layer mask to fade out the reflection. If you want to properly implement a layer mask to the reflection layer, select the layer mask button toward the bottom of the layers panel. Make sure you choose the layer mask after you create it. It should have a dashed line around the edges within the layers panel.
Next, you should navigate the toolbar and adjust the foreground color set to white and the background layer setting the color to black. After you change these colors, click the gradient tool, and ensure that its settings are at white-to-black, which will be at the top left of the application window.
The next step is to draw a straight line through your photo towards the bottom of the reflection. For this step to work correctly, you need to ensure that the reflection layer’s mask is still selected. The result should be a beautiful glass reflection and image mirror Photoshop.
If you want the free reflection to look as realistic as possible, you can always lower the reflection layer’s opacity until it looks good by your standards. When you adjust this opacity, confirm that you are selecting the new layer, not the mask.
Clean Up and Adjust the Shadows (As Needed)
You can use your best judgment to decide if the shadows need to be adjusted. If the image does not look its best, it might be because the original photo’s shadows are showing up behind the subject.
In the final steps of your reflection, you will be removing most shadows, except the smaller ones that are immediately underneath the object. You can utilize a softer paintbrush to get the job done. Make sure that the color of the brush matches the background layer accurately. Once you confirm the proper color, proceed to paint any shadows in the original layer.
Creating a Water Reflection
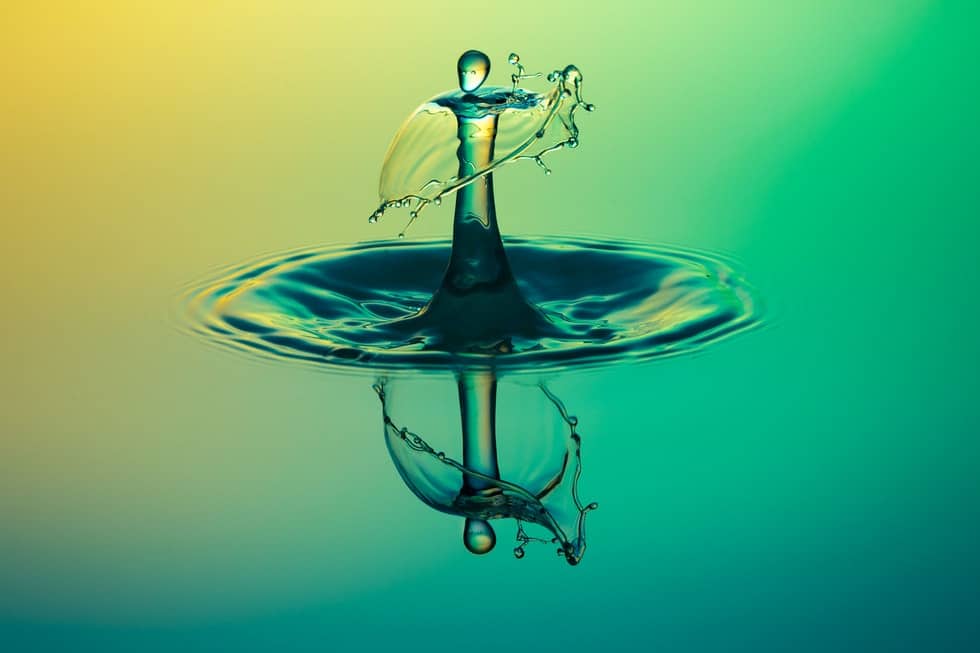
Are you interested in adding a free ripple effect to your object? This reflection process will make your photo look like it is resting on the water. The free water reflection also works well if you are creating a person’s reflection within Photoshop. You can edit the photo to create your subject like he or she is standing in front of or in a water body.
Prepare Your Canvas
First, you will need to set up your various layers much as you did with the glass reflection. You also want to make sure that you adjust your foreground color to w water, dark blue. After you complete this step, unlock the background layer so that you unlock it, then name it original.
Next, change the size of your canvas so that your image’s height doubles. Confirm that the extension color of the canvas is adjusted to background, and then click OK.
Navigate to the left-hand toolbar, select the rectangular marquee button, and then draw the selection around the edges of the image you want to work on. Click on the select button, and then inverse within the dropdown menu. Next, click edit and fill to apply the blue foreground color to the inverse selection. Next, click on select and inverse again to choose the selection’s inverse object.
Create the Reflection
Now it is time to create a reflection. Take your selected area, then copy and paste it so that the duplicated selection automatically appears within the new layer. You can rename the updated layer as reflection, and then flip it vertically by clicking edit, transform, and then flip vertical.
Next, arrange this reflected layer so that the top of it aligns a couple of pixels directly below the bottom of the original layer image. Just like you did in your glass reflection process, apply the layer mask to the reflection layer. You can now implement the black-to-white gradient paint on the mask. You can then select the reflection layer and lower its opacity to 80%.
Prepare the Water Texture in Photoshop
Within your document, you can prepare a new layer by clicking layer, new, and then layer. You can name your layer displacement and then arrange it toward the top of the panel. Next, fill this layer in with white by choosing edit and fill from the dropdown menu. After you complete this step, click filter, noise, and then add noise.
Here, drag the slider to 400%, click Gaussian within the distribution, and then ensure that monochromatic is selected. After you click OK, click on filter, pixelate, and then crystallize. Within the dialog box, you can drag the sliders until you achieve the effect you desire.
After clicking OK, click on filter, blur, and then motion blur. Here with motion blur, you can adjust the angles to 0 degrees. Play around with the slider up until the filter blur settings begin to resemble ripples in the water.
Distort Your Displacement Layer
You can zoom out of your window until it’s close to the size of a thumbnail. Next, choose select and all to select the displacement layer and all its content. Click edit, transform, and perspective within the dropdown menu and grab the corner of your document in the lower left. Until you have reached the ideal view, you can drag it to the right.
After you click on any free tool within the toolbar, select edit, transform, and distort within the dropdown menu. You can now click the top part of the layer and drag it down until it aligns with the reflection layer’s top part. Again, click anywhere within the toolbar for this change to take place and click OK.
Prepare a Displacement Map
Next, hide all your layers except for the displacement one. You can do this by selecting the eye button next to the layers. Here is a quick process for preparing the displacement map:
- Click select and all within menu dropdown to grab all the layer
- Choose image and crop within the dropdown menu to get rid of any extra elements surrounding the artboard frame
- Choose file and save as and save your documents with a .PSD extension where you can find it again
- Click OK
Apply Your Displacement Map
Now, it is time to apply your displacement map. After you make the reflection and original layer show up, you can hide the displacement layer. Next, click the reflection layer within the layer panel. Click filter, distort, and displace within the dropdown menu.
Next, go to the dialog box and adjust your horizontal scale to at least a 10 value. You might have to play around with this, but your ripples will be more intense the higher you go. Next, adjust the vertical scale’s value to 0. After you complete this step, you can select repeat edge pixels and stretch to fit.
Add in Depth to the Water
Next, take your displacement layer and drag it downwards until it is directly beneath the reflection layer. Click on the eye button next to the layer to make it show up again. Next, adjust the blend mode of the displacement layer to overlay. From here, you can switch up the layer’s opacity until you are pleased with the results.
