
ISO is one of the most fundamental and essential aspects of photography, essential for primary camera control. Without a proper ISO setting, your camera will take photos that are either too bright or too dark.
Looking to improve your photography? Just enter any questions you have about improving your photography below and hit send and get answers & feedback instantly - for FREE! Submit QuestionsWhat does ISO stand for?
ISO stands for International Organization of Standardization. The International Organization of Standardization was a governing body responsible for standardizing sensitivity ratings for camera sensors. In the days of film cameras, the ISO body would rate film’s sensitivity to light, giving it a speed and ASA rating. The light-sensitive film requires less light to develop a properly exposed photo. A high ISO number makes the roll of film more sensitive to light.
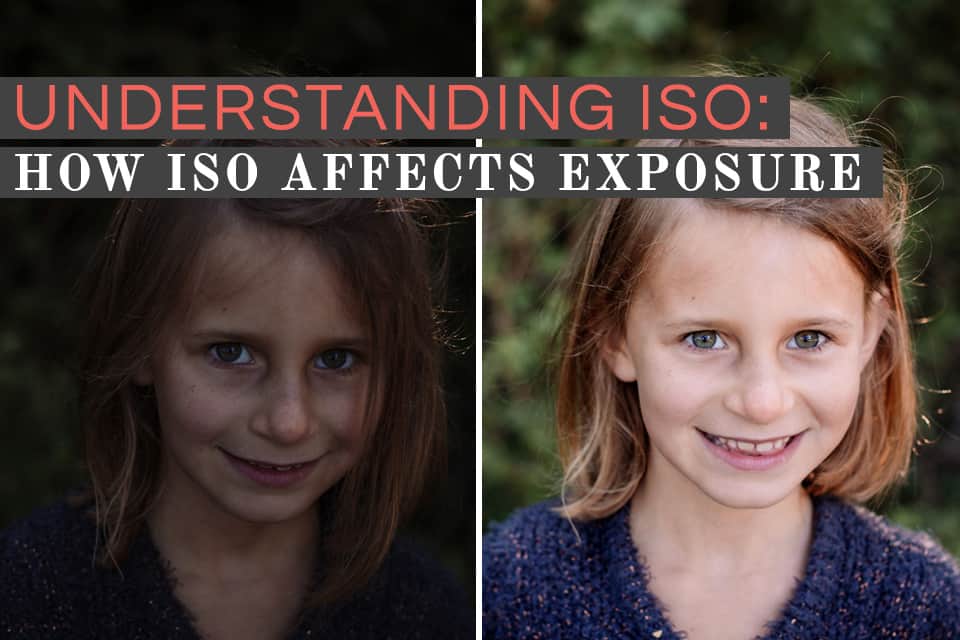
When the photography world made the switch to digital cameras, it retained the ISO standard to describe a digital sensor’s light sensitivity. The minimum setting on most digital cameras is ISO 100, which is the least sensitive to light. The maximum light sensitivity setting varies by camera model. If a photo starts to look grainy, it has a high ISO. You shouldn’t have a high ISO is you want your photo to look less grainy.
Why is ISO important?
ISO is one of the three components of exposure in photography. It affects how bright your image quality is, as well as the amount of digital noise, or grain, the image quality will have in it. Understanding when and how to raise and lower your ISO will help you achieve the look you want in your image quality.
Remember ISO value and exposure value are not the same thing. While ISO values control the light sensitivity, it doesn’t determine how much light is captured by the camera. That task belongs to the combined settings of your camera’s shutter speed and aperture.
The job of ISO value is merely to amplify the light signal that the camera receives. In the process, it can produce a similar effect as opening the aperture or using a slow shutter speed.
ISO values does not influence exposure. Exposure value is the product of aperture and shutter speed, which together, capture a certain quantity of light in a given lighting situation. The base ISO number does influence the final image quality by controlling how bright or dark it will be, using the exposure value as a base.
Let’s say that you are photographing a child in a dimly lit room. Imagine that you have set an exposure value of f/5.6 and 1/100 sec. The base ISO number is set to 100. Considering that the room is poorly lit, the exposure will be very dark. Try to increase the base ISO number to ISO 400. ISO 400 will make the exposure immediately improve even though the amount of light captured by the camera did not change. Still need some help with exposure? Read this great tutorial!
How Camera ISO Works
Today’s digital camera has several levels of sensor sensitivity, typically between ISO 100 and ISO 1600. Many digital cameras offer high ISO settings (e.g. ISO 1600, ISO 2000, ISO 3200, even up to ISO 6400!) This gives you the freedom to change the light sensitivity according to your needs. The signal received by the sensor is amplified using an analog process. There is a limit to how much this signal can be amplified before an image becomes too grainy to use.
How to Change the ISO Setting
Here’s how to lower or increase the ISO setting of the most popular camera brands:
Nikon’s entry-level digital cameras don’t have a dedicated ISO button, but the ISO setting can be found within the touchscreen menu.
- Press the ‘Info’ button to pull up the menu screen at the back of the camera
- Press the ‘I’ button at the back of the camera to make the options selectable
- Toggle the four-way button at the back of the camera till you reach ISO
- Press Ok. The various ISO options will come up.
- Use the up and down arrow from the four-way selector to select the ISO number of choice
- Press Ok.
- Press the ‘Info’ button again
For professional and semi-professional Nikon models, a dedicated ISO button is located on the camera body.
- Press the ISO button on the camera
- The display should read out the current ISO number
- Turn the command dial at the back of the camera to change the ISO number
Current versions of the popular Canon Rebel digital cameras feature a dedicated ISO button.
- Press the ISO button to display available ISO options
- If it has a touchscreen, simply pressing the ISO number will select the ISO
- If it does not have a touchscreen turn the command dial to change the ISO number
Sony digital cameras, such as the A7 series, include a dedicated ISO selector located on the back of the camera. Change the ISO of these digital cameras using the selector wheel.
- Press down where it is mentioned ISO.
- The display at the back of the camera will show you the ISO number that is active.
- You can now turn the selector wheel, and it will scroll through the available ISO numbers.
ISO and Exposure
You may be wondering why photographers prefer to lighten a scene by changing the ISO number instead of adjusting the aperture or shutter speed. ISO simply offers the most flexibility and better results. In some situations, you are in no position to alter the aperture or the shutter speeds, or both.
- Let’s say you are using a kit lens which opens to only about f/5.6. That means the widest aperture you could use is only f/5.6 when shooting at its tele end. Without ISO, your only option is to change the composition by zooming out and then using a smaller aperture. But even then, kit lenses aren’t known for having the fastest apertures.
- Imagine a situation without a tripod which requires you to hold the camera by hand. You can only use minimum shutter speeds before bringing undesirable motion blur into the equation.
- Assume that you are shooting a photograph of the Milky Way. You need a fast aperture, so, f/1.8 would be the right choice. But you also need a razor-sharp composition which has no “star trail.” That means you need to shoot with a faster shutter speed. But a combination of wide open aperture and a faster shutter speed wouldn’t let in enough light.
The solution in all these examples is to use a high ISO number. There are many situations where raising or lowering the ISO number is the only way to get the highest quality.
[ad id=’3′]
What is Auto ISO?
Auto ISO is a very useful feature available in many digital cameras. With Auto ISO enabled, the camera determines the best ISO number automatically, depending on parameters such as the exposure value and ambient light levels in the scene. Auto ISO takes care of one of the three shooting parameters that you must dial in yourself. The three parameters are the shutter speeds, the aperture, and the ISO.
Let’s say that you want a specific look and feel for your image regarding the depth of field and amount of image blur. That means both aperture and shutter speeds are fixed. In a situation like this, when you know that you cannot tweak either of the exposure value components, changing the ISO becomes the only option. But what if the light changes rapidly? Auto ISO is the perfect solution in this situation. Otherwise, you’d have to constantly adjust the ISO manually.
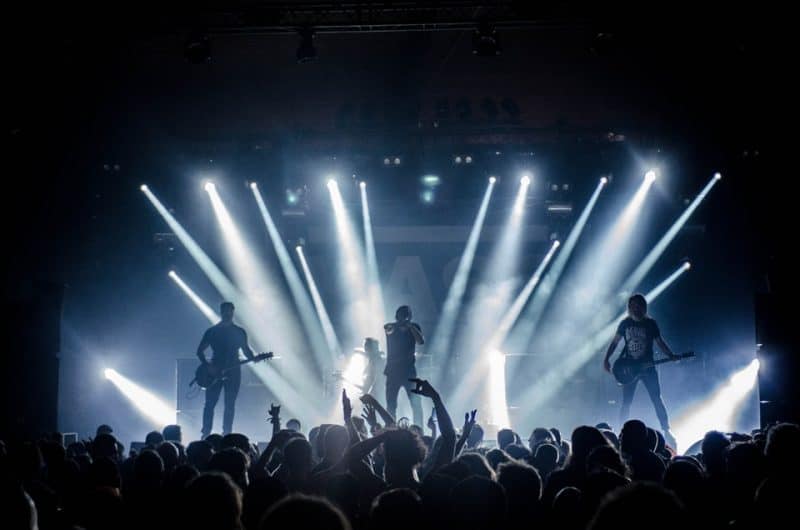
Auto ISO is used across a broad spectrum of photography genres. Take sports photography, for example. You need a certain depth of field to isolate the subject from the background. A faster shutter speed is required as well. Balancing the exposure becomes rather tricky, and Auto ISO helps immensely.
What ISO settings should I use?
You need to change your ISO when the light changes or you need to control the ambient exposure. If there is bright sunlight and you are shooting outdoors, you will need to use a smaller ISO number. If you are shooting indoors and the subject is stationary, you need a higher ISO number. However, if you are using a flash or speedlight, you need to use a small ISO number to ensure that the image is not overexposed.
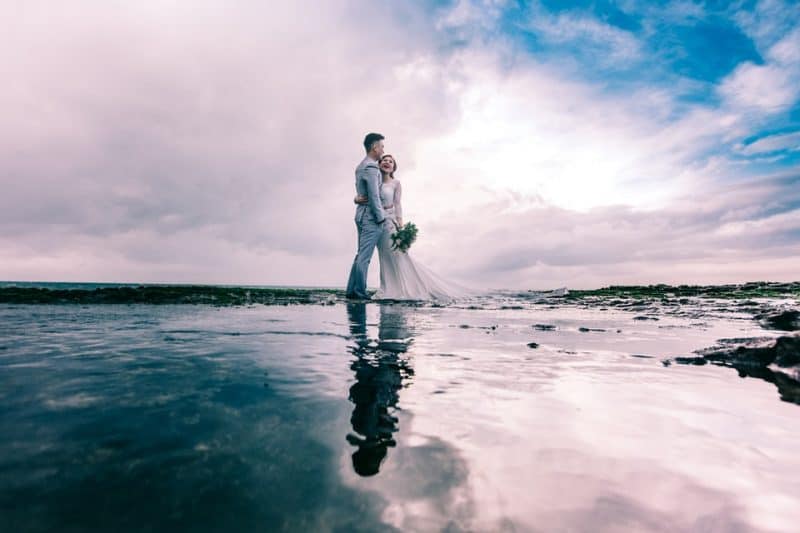
Your goal should be to keep your ISO as low as possible and still achieve the look you want for your image, given your other choices for shutter speeds and aperture. You should only raise your ISO when you are unable to brighten the photo using a slower shutter or wider aperture. For example, you may be shooting a wedding in low light. You are shooting at f/2.8, which is as fast as your lens works. You want to stop the action, so you are shooting with a fast shutter speed of 1/25o. If your image is still dark at ISO, raise it until you have a properly exposed photo.
The only downside to using high ISO is the appearance of image grain, commonly referred to as noise. Image grain looks like tiny white dots that appear across the image, especially around the darker shadow areas. Using a low native ISO number produces the cleanest imagery. If you must use a higher ISO, noise reduction becomes an important aspect of post-production. Need help fixing a grainy photo? We have the answers!
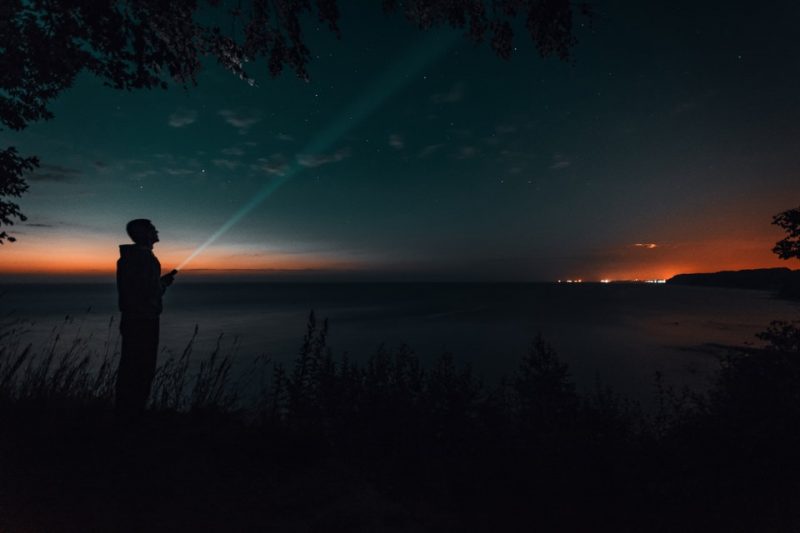
ISO for night photography
A night-time shot is the most difficult since it requires the perfect balance between all the exposure parameters, including ISO. Let’s say you are shooting a night-time portrait shot. You will want the widest aperture that your lens can handle. This will do two things: Allow a lot of light and provide a shallow depth of field.
Next, the shutter speeds should depend on the amount of the ambient light you wish to capture. While shutter speed is primarily used to freeze motion, it also controls the amount of ambient light that is captured.
If you are not using a flash, your ambient exposure needs to be slightly higher. Otherwise, your subject’s face will appear too dark. To achieve this, you need a longer shutter speed. But the problem with longer shutter speed is that it induces image blur. In this case, a higher ISO number can balance the exposure. Click here for more tips on shooting night skies!

ISO for daylight
During the daytime when shooting outdoors, you can use the Sunny 16 Rule to ensure proper exposure. Shutter speed is the reciprocal of the ISO number. If it is bright sunlight and you are shooting outdoors, set your camera ISO 100. With a ISO 100, use a faster shutter speed of 1/100 (one over the ISO number) and use an aperture of f/16.
The Sunny 16 Rule is the basis for multiple other situations. If it is overcast and you need to open the aperture, you can either eyeball the exposure or use a light meter. Let’s imagine the fast shutter speed is asking for 1/100. This might be a little towards the red line, especially if you are using a telephoto lens. So, you decide to set your fast shutter speed at 1/200. Therefore, what is the ISO number? The answer is ISO 200. ISO 200 is reciprocal of the shutter speed.
ISO for indoors
Start with ISO 100 or ISO 200 if you need more exposure. Set your fast shutter speed and aperture where you want or need them to be given your goals of the photo. Then adjust your ISO to achieve the exposure you are looking for, whether ISO 100 or ISO 200. Remember that images using high ISO like ISO 200 can get grainy or noisy, but a grainy image is better than one you don’t capture at all!
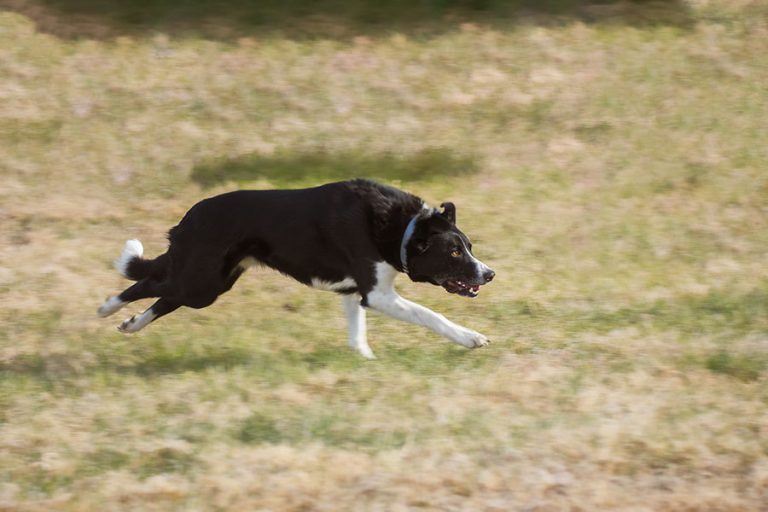
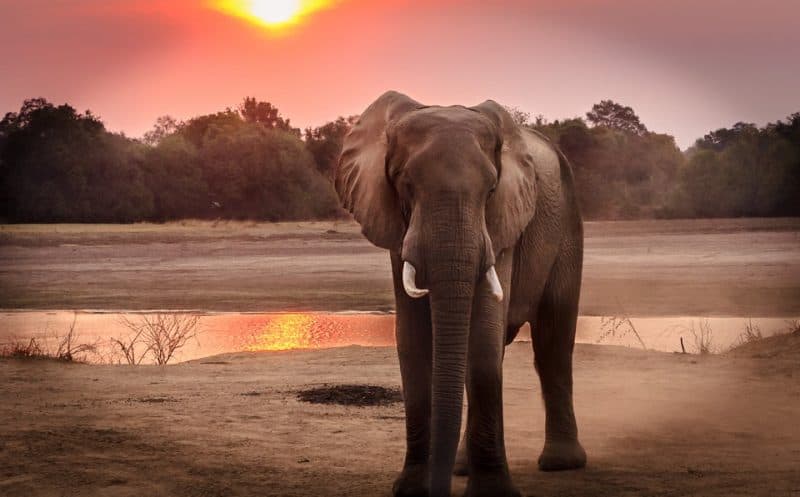
ISO and shutter speed for wildlife photography
Wildlife photography is yet another demanding requirement for photographers. The light is constantly changing, with the direction, intensity and color temperature in constant fluctuation. For situations like this, it is imperative that you use a color chart as a reference. This ensures that you have the correct white balance setting for each session.
If you are shooting with a strong directional light during the early part of the day or the late afternoon (also known as the golden hour), start with your aperture setting first. Next, balance the shutter speed. Choose the lowest ISO after your exposure value is dialed in. If you need a faster shutter speed, you can always dial in a high ISO number. If you’re using a higher ISO number, be sure to balance the exposure with the high ISO number. This will be a good time for Auto ISO if your camera supports it.
https://www.youtube.com/watch?v=lFUCvA3KWtU